The Barracuda Firewall Control Center for AWS is available as a Bring Your Own License (BYOL) image from the AWS Marketplace. Two models are available. The VCC610 supports two ranges and unlimited clusters, the VCC400 one range and one cluster. The Control Center can manage both on-premises hardware and virtual firewalls, as well as CloudGen Firewalls in the public cloud. It is not possible to use the AWS Control Center in a high availability cluster.
Before You Begin
- Deploy the Barracuda Firewall Control Center for AWS image from the Marketplace. For more information, see Amazon AWS Deployment.
- Verify that you are not blocking TCP 807 and TCP 806. These ports are required for management access to the Control Center.
- Open TCP 692 for remote management tunnels if CloudGen Firewalls not in the same VPC are managed by the Control Center.
- Activate the license on the box layer of the Control Center. For more information, see How to Activate and License a Stand-Alone Virtual or Public Cloud Firewall or Control Center.

Step 1. Export the Base License on Box Layer
- Log into the box layer of the Control Center.
- IP Address/ Name – Enter the public IP address, or if connected to the VPC via client-to-site, the private IP address associated with the Control Center.
- Username – Enter
root. - Password – Enter the instance ID of the Control Center instance.
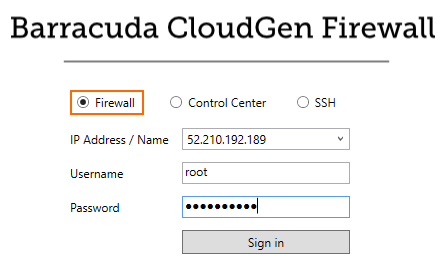
- Open the CONFIGURATION > Configuration Tree > Box > Box Licenses page.
- Click Lock.
- In the Licenses table, select the Base License. Then, click Im/ Export and select Export to Clipboard or Export to File.

Step 2. Configure CC Identification Settings
The CC Identification settings are required to secure communication between the Control Center and the CloudGen Firewalls it manages.
- Log into the Control Center layer.
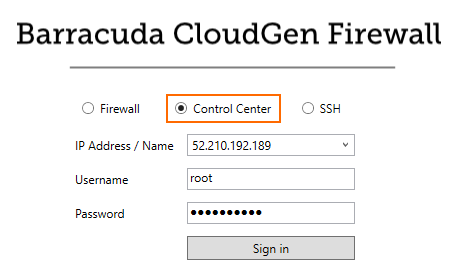
- Click Trust.
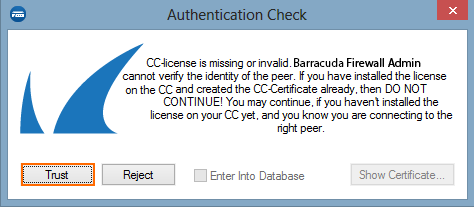
- Go to CONFIGURATION > Configuration Tree > Multi-Range > Global Settings > CC Identity. The This Connection is Untrusted pop-up opens.
- Click No.
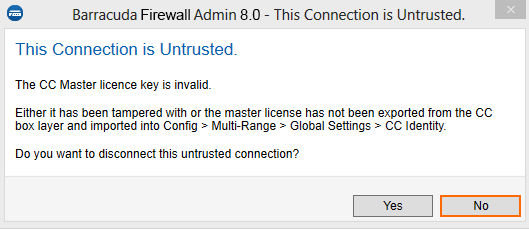
- Click Lock.
- In the Organization field, enter your organization name.

- In the CC Identification section, click Import and select either Import from Clipboard or Import from File to import the base license exported in Step 3. The Certificate View window opens.
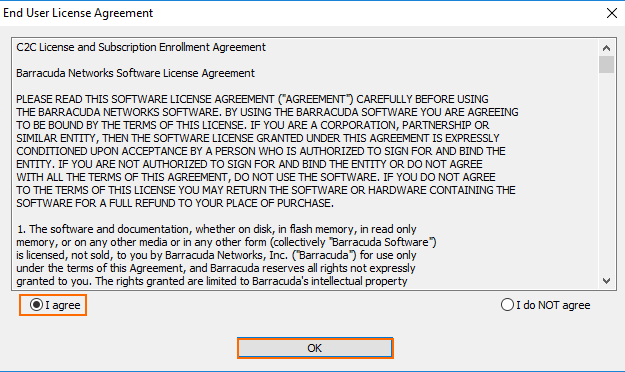
- Click OK. The End User License Agreement window opens.
- Select I agree and click OK.
- In the left menu, click Trust Chain.
- Define the keys and certificates required for secure communication between the Control Center and the CloudGen Firewalls that it will manage:
- CC Private Key – Click New Key and specify the key length.
- CC Certificate – Click Edit and specify the certificate settings.
- CC SSH Key – Click New Key.
- Click Send Changes and Activate.
Step 3. (optional) Complete the Auto-Activation Form
To automatically activate managed firewall licenses, you must enter the data for the auto-activation form once.
- Log into the Control Center layer.
- Go to CONFIGURATION > Configuration Tree > Multi-Range > Global Settings > CC Parameters.
- In the left menu, select Activation Template.
- Click Lock.
- Enter the Owner and Purchase Information.
- Click Send Changes and Activate.
Next Steps
Continue with the steps below to set up the Control Center in AWS according to your needs.
| Link | |
|---|---|
| Create Admins | Control Center Admins |
| Configure Central Management | |
| Add Managed CloudGen Firewalls | |
| License Managed CloudGen Firewalls | |
Revision Control System (RCS) |
