

Please follow these steps to create a performance counter for a custom WMI class.
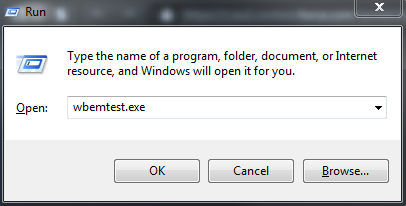
- Click Start, then choose RUN and type in “wbemtest.exe”. Then press ENTER.
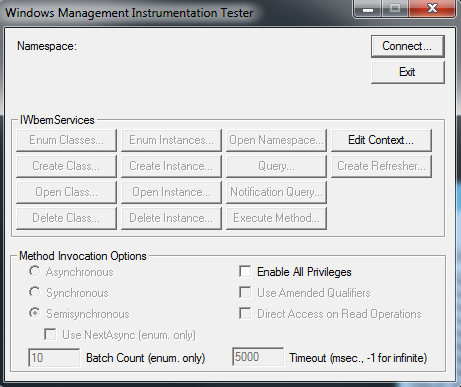
- Click Connect.
- Connect to the namespace containing your WMI class. This will normally be
root\cimv2. If you’re connecting to a remote system, the namespace will look like a UNC path, eg.\\hostname\root\cimv2.
Enter an Administrator username and password if necessary, then click Connect.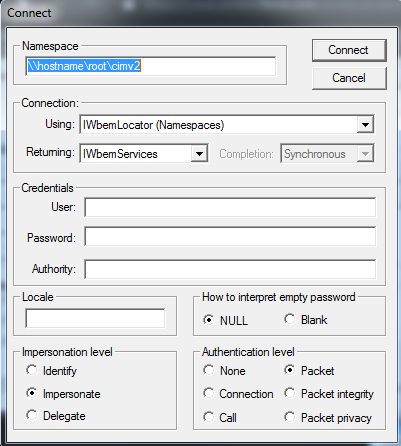
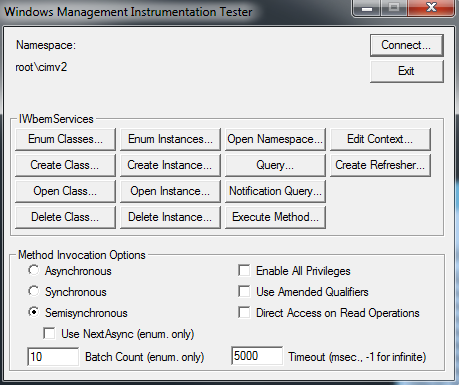
- Click Enum Classes…
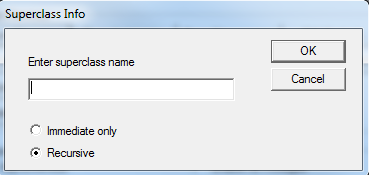
- Leave Enter Superclass Name blank, select Recursive and click OK.
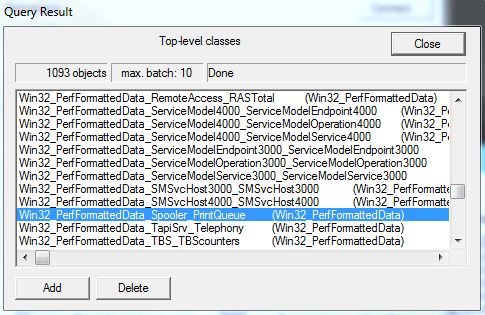
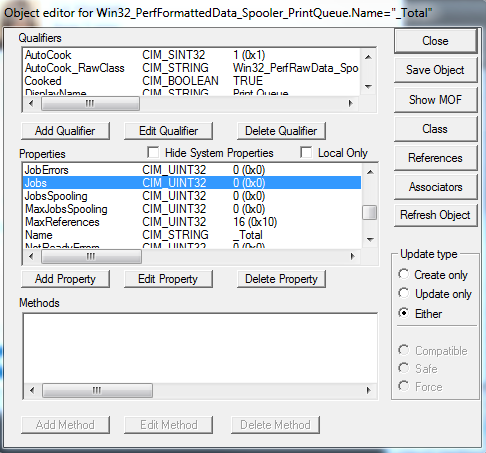
A Query Result window opens with a full list of WMI classes in that namespace. - Scroll through the list until you find a relevant class. Take note of the class name (eg. Win32_PerfFormattedData_Spooler_PrintQueue)
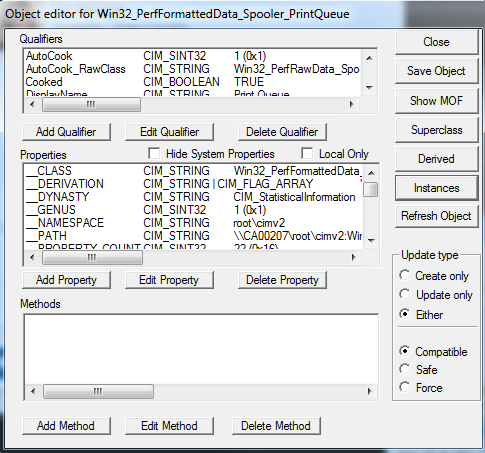
- Click Instances to find out which instances exist.
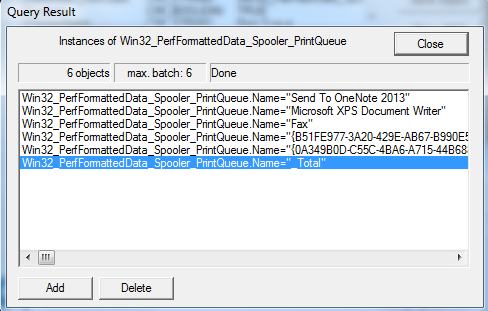
- Take note of the available instances, then double-click on one (eg. “_Total”)
- Find the property you want to monitor, and take note of its name.
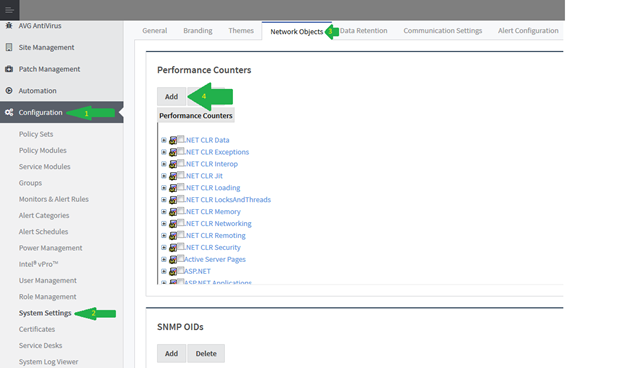
- Open your Service Center, and go to System Settings under Configuration.
- Click the Network Objects tab, and under Performance Counters, click Add.
- Check the Other box for each field, and fill out the form with the information you’ve gathered.
Performance Object and Instance Counter can be whatever you want to name them and Object Instance is optional, but WMI Class Name and WMI Property Name are required.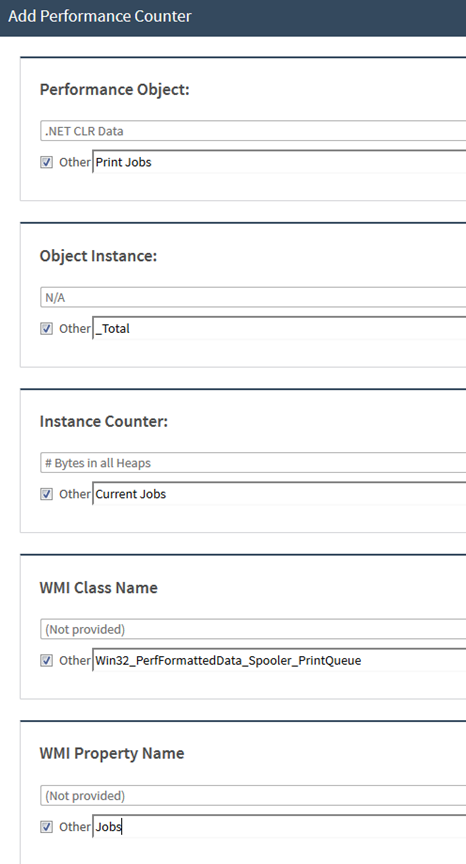
- Click Save.