

Attention! Your customer email address needs to be updated to ensure a successful migration to the AWS platform.
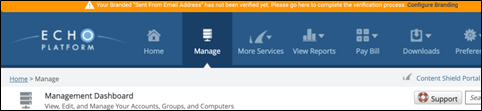
Note : If you have an email address that has not been verified, the following banner is displayed on the ECHOplatform Manage page:
Your branding customer email address has not been verified. To verify your customer email address, click the following link: Configure Branding.
Click the Configure Branding link to display the Branding welcome page. See procedure below to provide a customer email address.
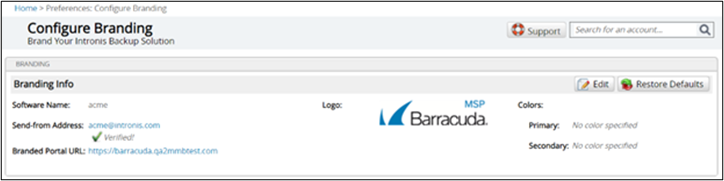
If the Verified message is displayed on your Configure Branding page, no further action is needed. Else, perform the following steps.
To update your customer email address, perform the following steps.
- At the ECHOplatform ribbon, click Preferences, Configure Branding.
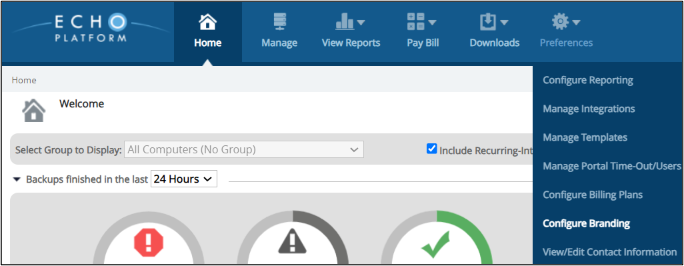
The Configure Branding page is displayed.
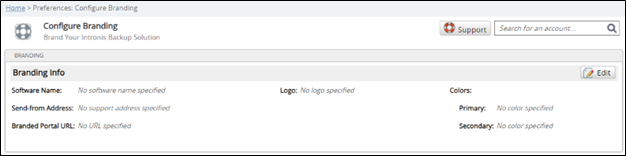
- Click the Edit button.
The Specify Logo page is displayed.
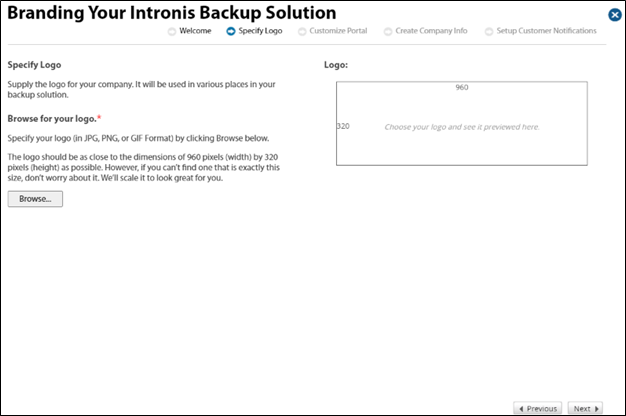
- Keep clicking Next until the Create Company Info page is displayed.
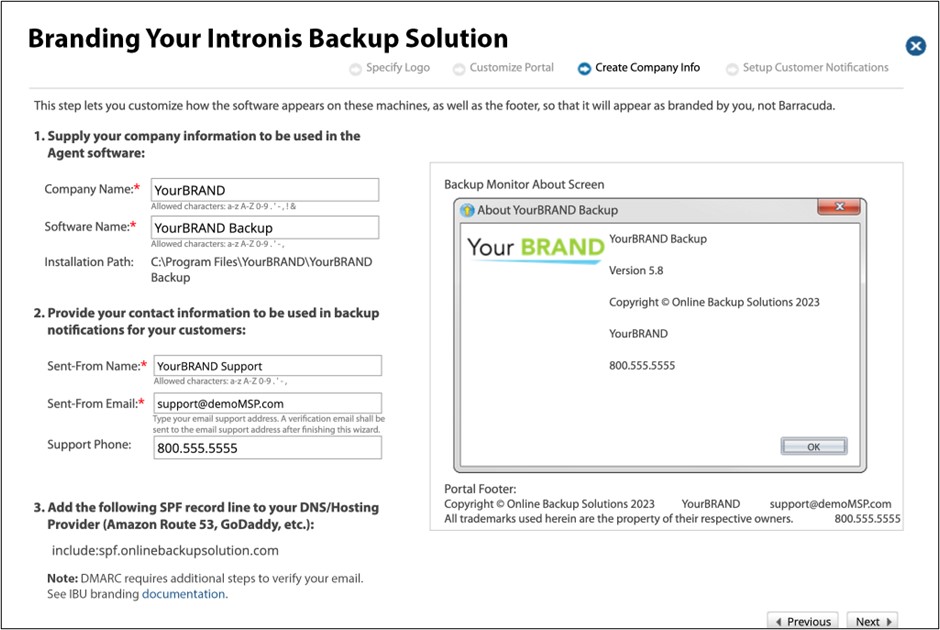
- In the first section, verify your company information to be used in the Agent software, and then select an Installation Path.
- In the second section, verify your contact information to be used in backup notifications to your customers.
- Verify the support phone number to be displayed on the portal and on emails so your customers can call you for support.
- In the third section, add the following SPF record line to your DNS/Hosting Provider (Amazon Route 53, GoDaddy, etc.):
include spf.onlinebackupsolution.com - If using DMARC subdomains, see Configuring DMARC Subdomains for additional steps.
Note : Emails need to be verified before this feature can be used. Upon finishing this wizard, a verification email is sent to the customer support email address you entered in the field above. - Click Next until the Congratulations page is displayed.
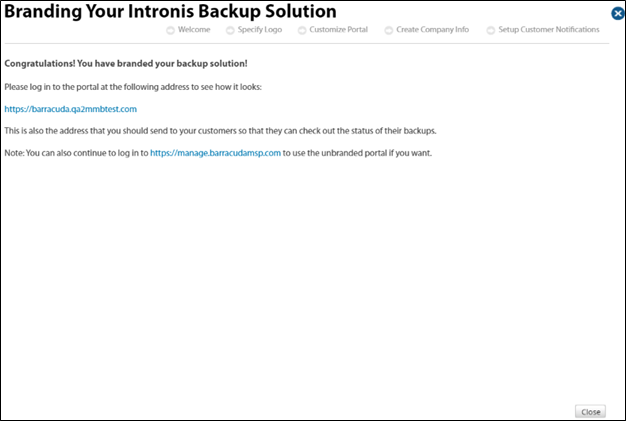
Click the link to Log in to the portal to see how it looks:
Note: This is also the address that you should send to your customers so that they can check out the status of their backups.
The Log in pop-up is displayed.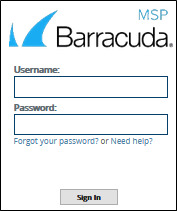
Enter your credentials and then click Sign In.
The Configure Branding page is displayed with a Send Verification Email button.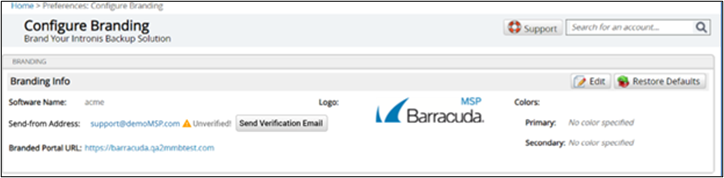
Click the Send Verification Email button.
If successful, the Configure Branding page is displayed with a verified check mark, as shown below.At the Congratulations page click Close .