

- Enable the Cisco Meraki Collector integration
- Install the XDR Collector
- Configure the Firewall
- Open the port on the XDR Collector Host
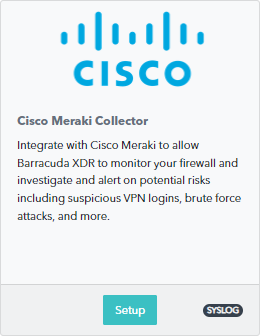
Enable Cisco Meraki
- In Barracuda XDR Dashboard, navigate to Administration > Integrations.
- On the Cisco Meraki card, click Setup.
- Select the Enable check box.
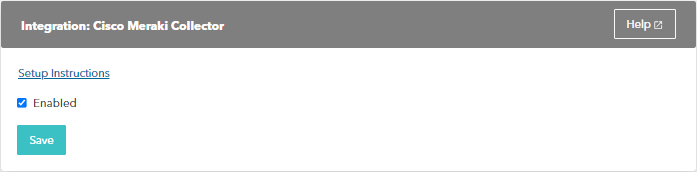
- Click Save.
Install the XDR Collector
- If you haven't already set up the XDR Collector, do one of the following:
Configure the Firewall
To define Syslog servers, in the Meraki Dashboard navigate to Network-wide > Configure > General.
Click the Add a syslog server link to define a new server and enter the following:
IP address: The static IP address of the system hosting the XDR Collector
UDP port: 9221
Roles: The roles to send to the server need to be defined. Supported roles include Airmarshal, Events, Flows, IDS Alerts, IP flows, Security, and URLs.
Open the Port on the XDR Collector Host
Ensure incoming traffic is allowed on UDP port 9221.
Linux
sudo ufw allow 9221/udp
Windows
netsh advfirewall firewall add rule name=“Meraki Firewall Events” dir=in action=allow protocol=UDP localport=9221