

To set up the SonicWALL Firewall Collector, follow the procedures below:
- Enable the SonicWALL Firewall Collector integration
- Install the XDR Collector
- Configure the Firewall
- Open the port on the XDR Collector Host
Enable SonicWALL Firewall
- In Barracuda XDR Dashboard, navigate to Administration > Integrations.
- On the SonicWALL Firewall Collector card, click Setup.
- Select the Enable check box.
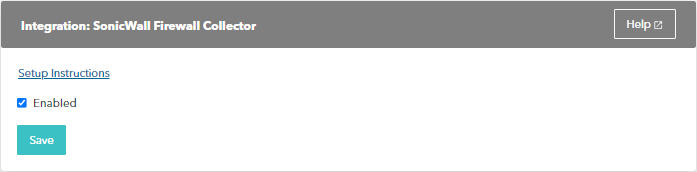
- Click Save.
Install the XDR Collector
- If you haven't already set up the XDR Collector, do one of the following:
Configure the Firewall
In SonicWALL Firewall, go to Device > Log > Syslog.
Click Syslog Servers tab.
Click Add.
The Add Syslog Server dialog appears.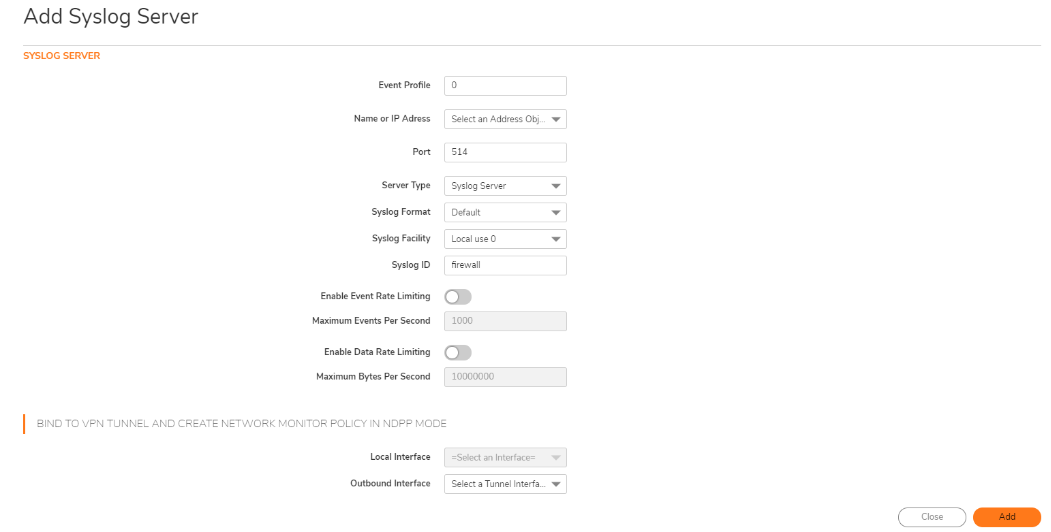
Specify the Event Profile for this server.
The minimum value is 0 (1 group), the maximum is 23 (24 groups), and the default is 0. Each group can have a maximum of 7 Syslog servers. For GMS, the Event Profile must be 0.Select the Syslog server Name or IP address.
Messages from the firewall are then sent to the servers.In the Port Number field, type 9204.
Select the Syslog Format.
The default is Default. For GMS, the Syslog format must be Default.Select the Syslog Facility.
The default is Local Use 0. For GMS, the Syslog format must be Local Use 0.Type the Syslog ID.
The default ID is firewall.Optionally, to limit events logged and therefore, prevent the internal or external logging mechanism from being overwhelmed by log events, select Enable Event Rate Limiting.
Event rate limiting is applied regardless of Log Priority of individual events. Specify the maximum number of events in the Maximum Events Per Second field; the minimum number is 0, the maximum is 1000, and the default is 1000 per second.Optionally, to limit events logged and therefore, prevent the internal or external logging mechanism from being overwhelmed by log events, select Enable Data Rate Limiting.
Data rate limiting is applied regardless of Log Priority of individual events. Specify the maximum number of bytes in the Maximum Bytes Per Second field; the minimum is number is 0, the maximum is 1000000000, and the default is 10000000 bytes per second. This control limits data logged to prevent the internal or external logging mechanism from being overwhelmed by log events.To bind to a VPN tunnel and create a network monitor policy in NDPP mode:
- Optionally, choose a Local Interface.
- Optionally, choose an Outbound Interface.
Click Add.
Open port on the XDR Collector Host
Ensure incoming traffic is allowed on UDP port 9204.
Linux
sudo ufw allow 9204/udp
Windows
netsh advfirewall firewall add rule name=“SonicWALL Firewall Events” dir=in action=allow protocol=UDP localport=9204