In cases where a Hyper-V VM boot disk is not the first (primary) disk, there is an additional step that must be completed to boot the virtual machine (VM). Use the following steps to complete the boot process:
- Follow the steps in the Cloud LiveBoot VM Recovery (Hyper-V) section to boot a Hyper-V virtual machine in the Barracuda Cloud.
- Open the VNC client of your choice, for example, RealVNC or TightVNC.
- In your VNC client, enter the IP address and password for the affected Hyper-V VM found in the VNC column of the Cloud LiveBoot page:

- Once successfully connected to your Hyper-V VM with your VNC client, select your boot device:
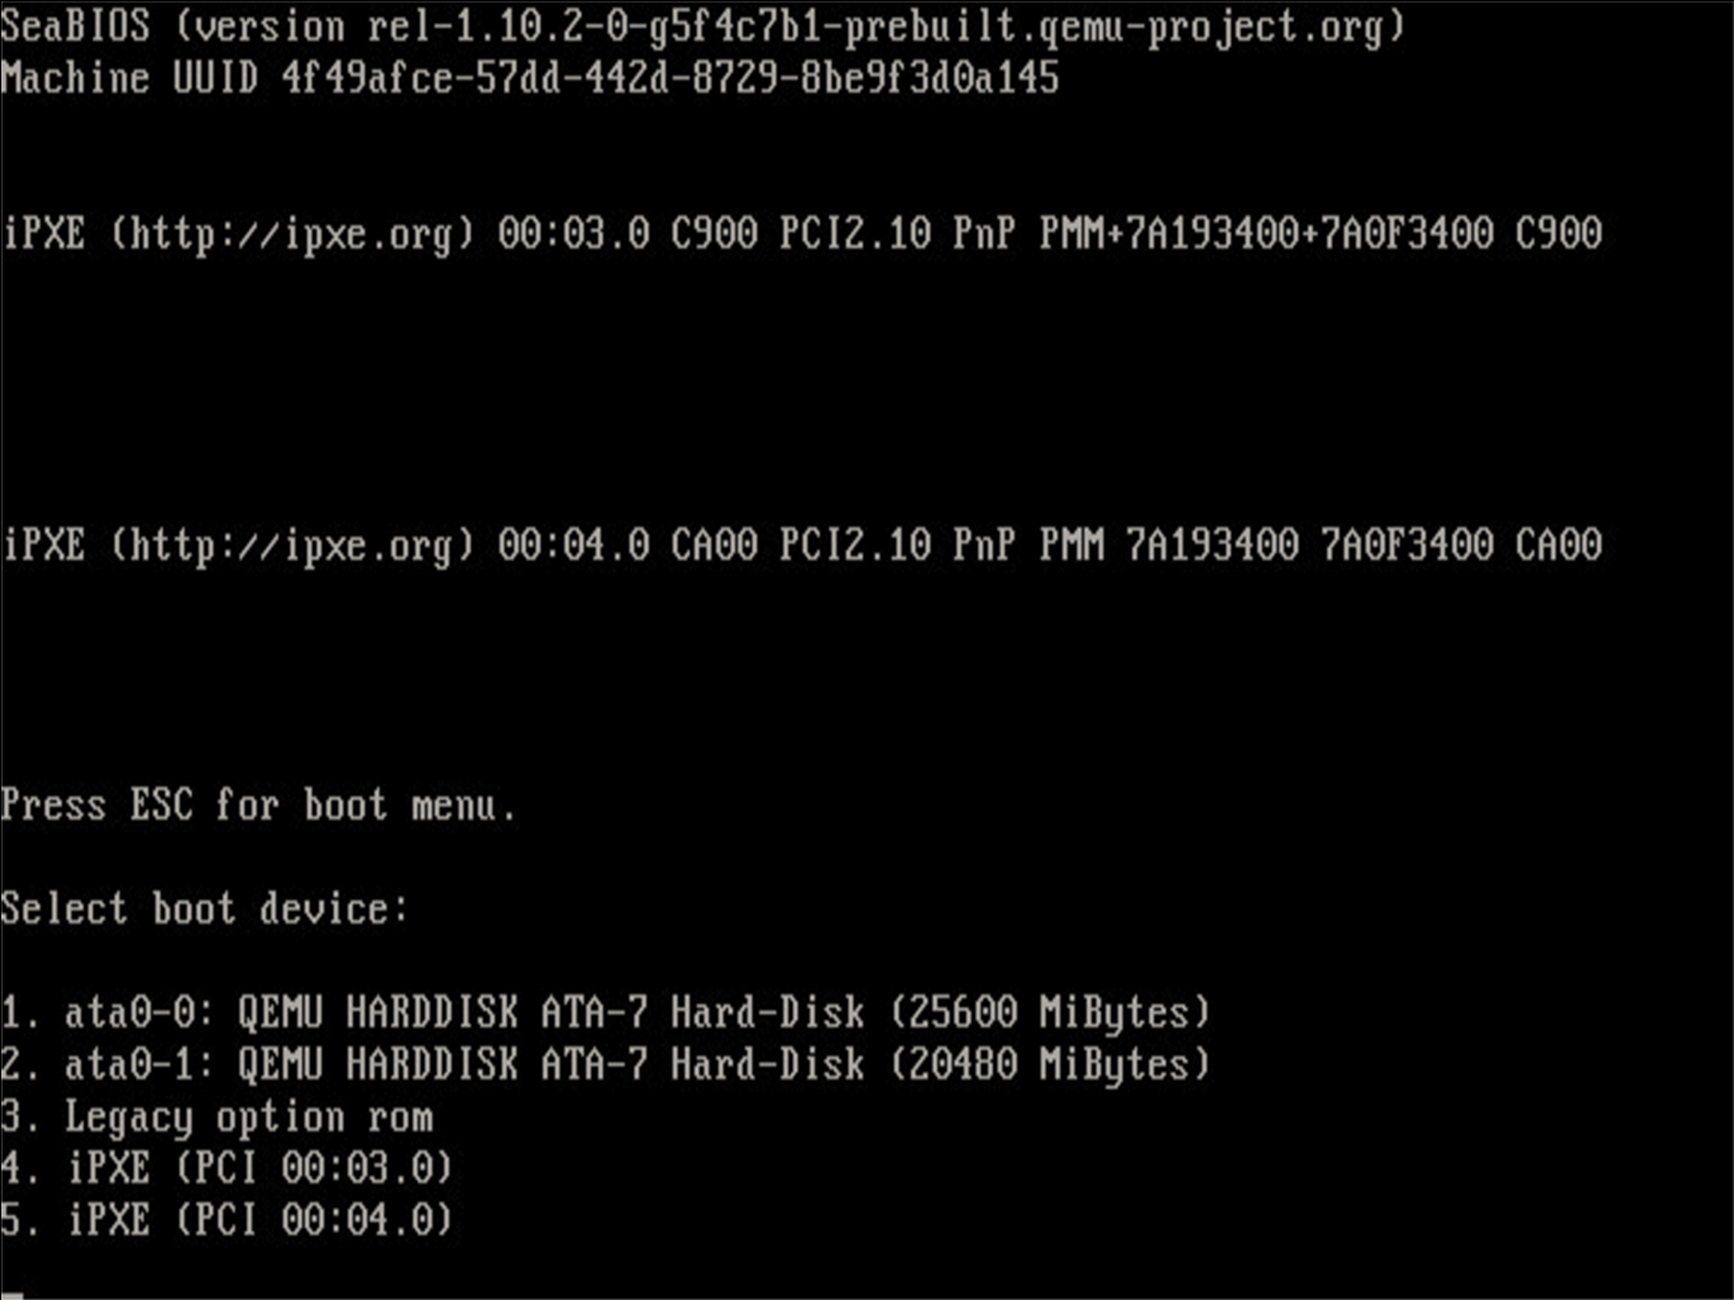
The Hyper-V VM should continue booting as normal.
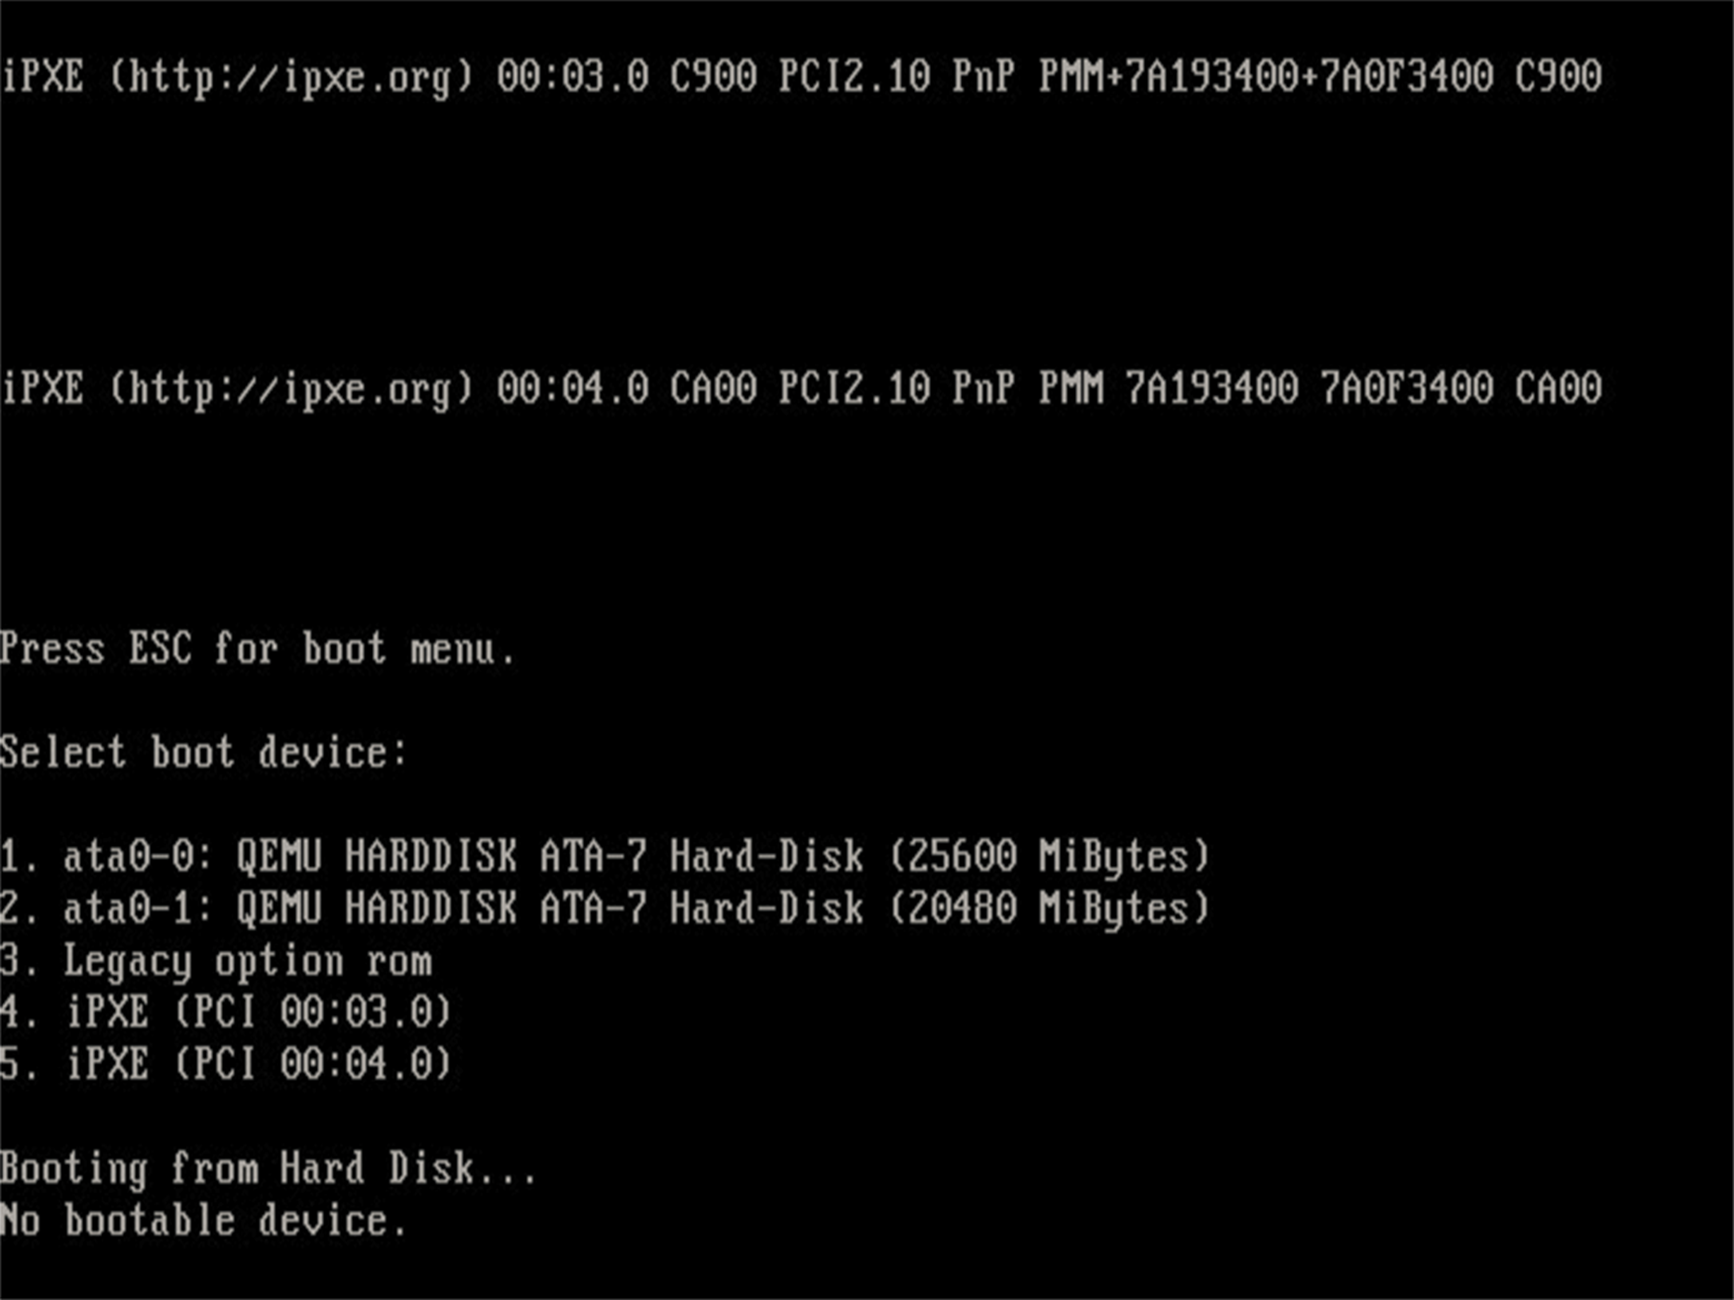
If the wrong disk is selected, the error message No bootable device displays as shown in the image below. If this occurs, restart the VM and retry the boot process.