

This article lists the steps needed to finish the migration of your mailfoundry email account to the Barracuda Email Security Service.
The following steps have already been completed for your account migration:
- Barracuda Networks has migrated configuration information from your mailfoundry account.
- Barracuda Networks has created an administrator account for your organization in the Barracuda Email Security Service. You will have a chance to reset the password for this account.
You should have received an email from Barracuda outlining the high level steps. Follow the steps below to finish migrating your account to the Barracuda Email Security Service.
Step 1. Log in as Administrator
This step ensures you have administrator level access to your account.
- Click the link sent to you in an email from Barracuda. The subject of the email is MailFoundry to Barracuda Email Security Service migration. The login page displays.
- Click Request Password. A new password is sent to the email address on file.
- When you receive the email, click on the link in the email to reset the password.
- Enter a new secure password. Remember that this is the password for your administrator account. For security, do not share this password with anyone.
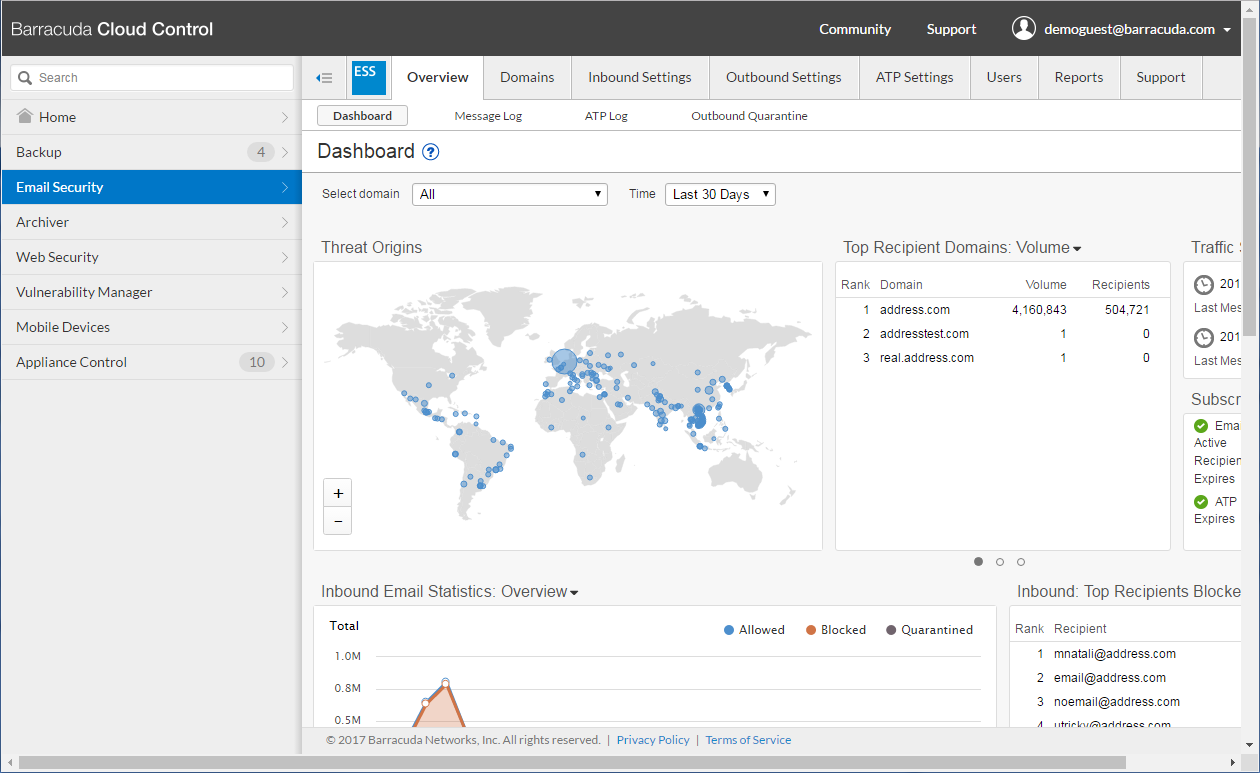
- Once you are logged in with the new password, click Email Security in the left navigation pane; the Overview > Dashboard page displays and you are logged into the Barracuda Email Security Service as administrator:
Step 2. Verify Domains and Configuration
- Click the Domains tab. The Domains Manager page displays. Confirm each of your domains is listed here.
- Double check that the IP address of the Mail Server for each host is correct. If it is not correct for a domain, click Edit in the Settings column for that domain to make modifications:

Verify the IP address for the mail server for the domain, and click Save Changes.
- In the Domains page, for each of the domains, click Manage in the Domain Options section, one domain at a time.
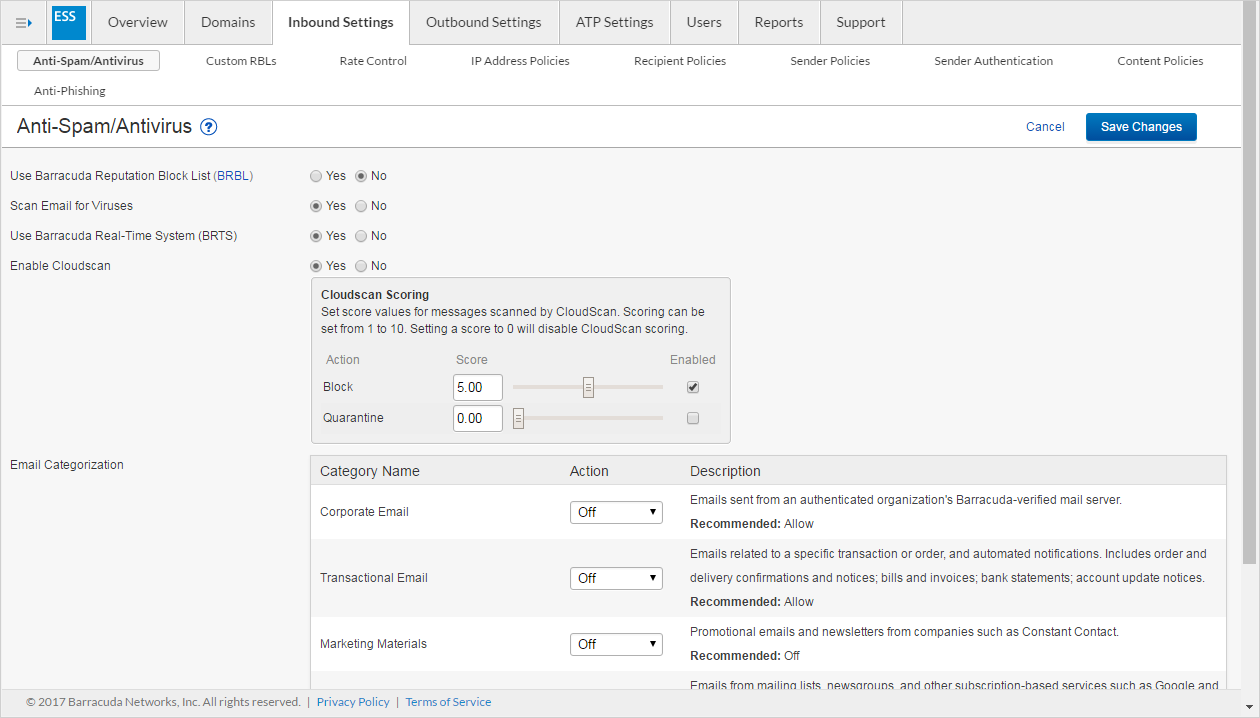
- For each domain, verify all settings on the Inbound Settings pages are correct for each sub-tab: Anti-Spam/Antivirus, Custom RBLs, Rate Control, IP Address Policies, Recipient Policies, Sender Policies, Sender Authentication, Content Policies, and Anti-Phishing. Use these pages to create policies for inbound mail.
Step 3. Ensure Connectivity
- If you have trouble routing email traffic through the service, make sure that your firewall allows traffic originating from the Barracuda Email Security Service. To allow mail traffic from the service, open your firewall ports to allow the IP address ranges such that your LDAP and Microsoft Exchange servers can communicate with the Barracuda Email Security Service based on your Barracuda Email Security Service instance; see Barracuda Email Security Service IP Ranges for a list of ranges based on your Barracuda Email Security Service instance.
Additionally, open these ports in your corporate firewall to allow communication between the Barracuda Email Security Service and remote servers:
Port Direction Used for 25 In/Out SMTP 389 In/Out LDAP 636 In/Out LDAP - To ensure that the service can send traffic to the mail servers listed for each of your domains, click Domains Manager.
- Click Edit in the Settings column for the first domain in the list; t he Domains > Domain Settings page for this domain displays. click Test:

- The Mail Server Test page displays:

- Enter the username of a mailbox on the server that you can readily test, and click Send. If the email is routed correctly, a Success message displays. If the Success message does not display and the recipient does not receive the test email, double check the steps above. If a problem persists, see the troubleshooting section below.
- Verify that the Barracuda Email Security Service is able to reach your configured LDAP server. Go to Domains > Domain Manager > Settings, configure your LDAP host and click Test Settings. If you have problems connecting, open your firewall ports as described below.
Troubleshooting
Verify that your firewall allows traffic originating from the Barracuda Email Security Service. To allow mail traffic from the service, open your firewall ports to allow the IP address ranges based on your Barracuda Email Security Service instance such that your LDAP and Microsoft Exchange servers can communicate with the Barracuda Email Security Service .
Additionally, open these ports in your corporate firewall to allow communication between the Barracuda Email Security Service and remote servers.
| Port | Direction | Used for |
|---|---|---|
| 25 | In/Out | SMTP |
| 389 | In/Out | LDAP |
| 636 | In/Out | LDAP |
Step 4. Route Email through the Barracuda Email Security Service
- Go to the Settings page for this domain.
- Make note of the two MX records listed under the MX Records Configuration section. They are listed as Primary and Backup:
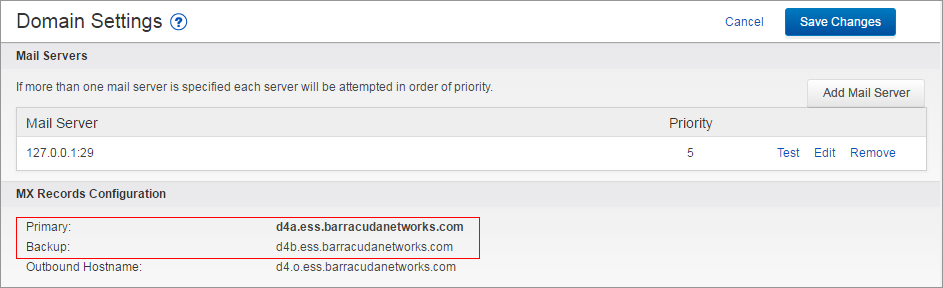
- Log in to your ISP or hosting provider and change the MX records to the records listed above.
- Depending on your ISP settings, this change can take a few minutes to a few hours to complete. Once complete, email begins flowing through the Barracuda Email Security Service.
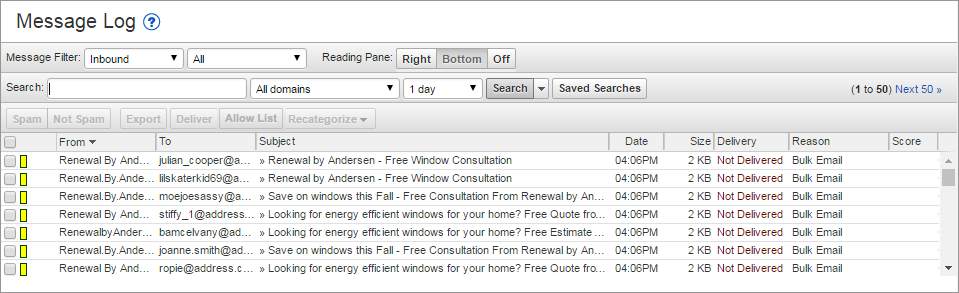
- Go to the Overview > Message Log page to look for incoming email. Your email is now being filtered by Barracuda Networks:
Repeat this process for each additional domain.
See Also
Overview and inbound policy configuration:
Outbound policy and encryption settings:
Advanced topics:
- Advanced Configuration (Sender Authentication, SPF, Recipient Verification)
- Managing User Accounts
- Reporting