

Use the following steps to set up Exchange Online backup:
- Log into Barracuda Backup, and select the Cloud-to-Cloud Backup Source in the left pane.
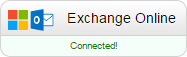
- In the Status page, click Exchange Online:
- The Data Sources page displays. Click Add a Cloud Provider, and enter the following details:
- In the Cloud Provider description field, enter a name to represent the data source.
- From the Cloud Provider type drop-down menu, select Microsoft Office 365.
- Click Save.
- The Add a Cloud Data Source dialog box displays:
- From the Data Type drop-down menu, select Exchange Online:
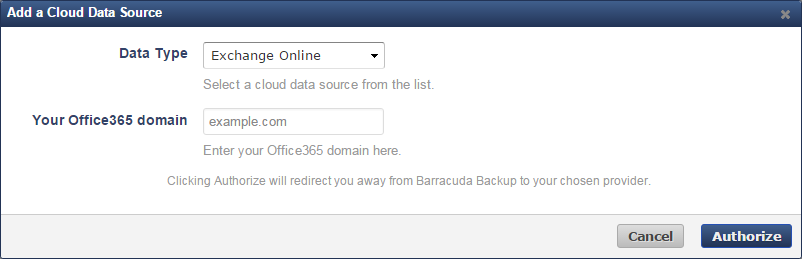
Enter Your Office365 domain URL.
Click Authorize.
- From the Data Type drop-down menu, select Exchange Online:
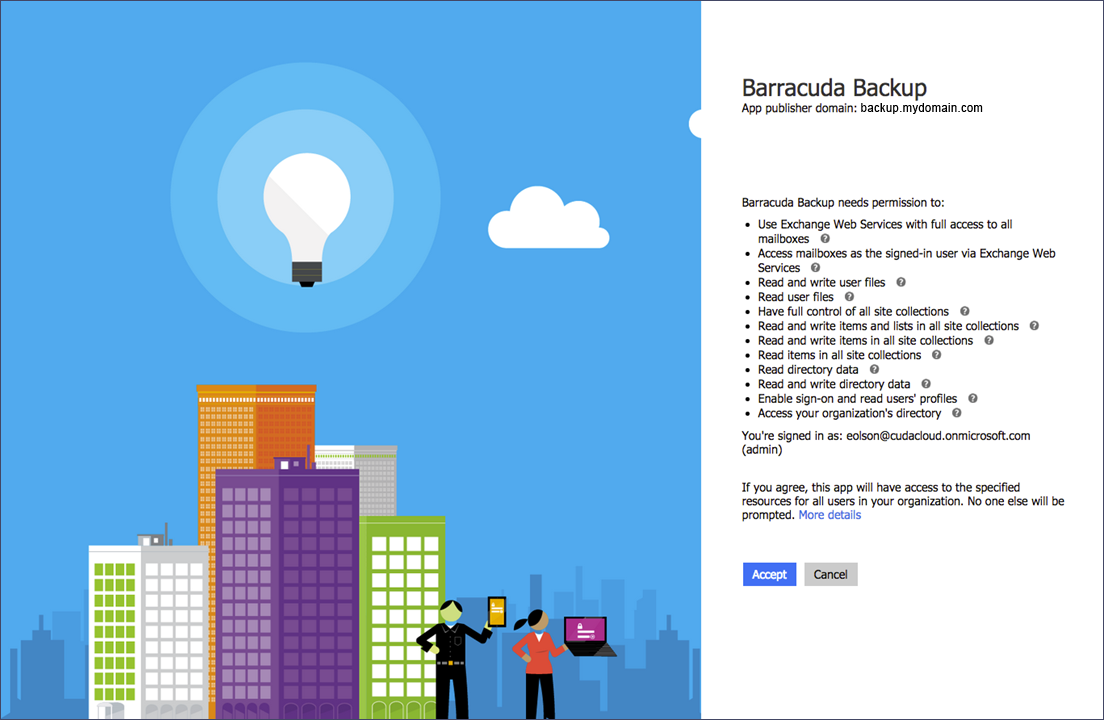
- In the Exchange Online page, click Accept to authorize Barracuda to back up data from Exchange Online:
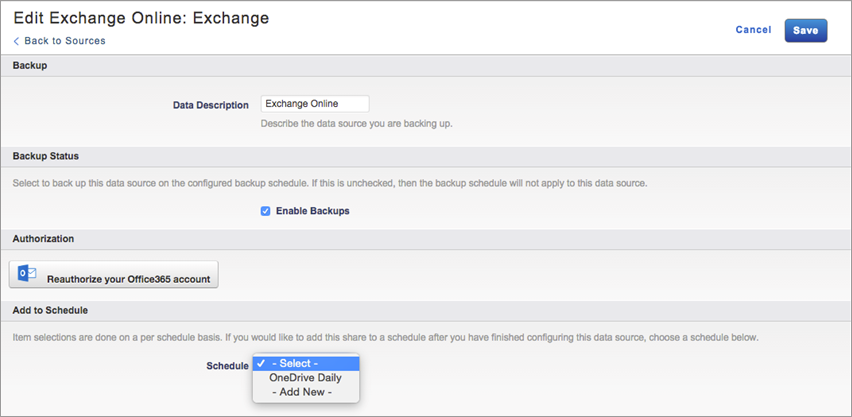
- The Edit Exchange Online page displays.
- Enter a name to identify the data source in the Data Description field.
- In the Add to schedule section, click the drop-down menu, and then click Add New:
- The Add New Schedule dialog box displays:
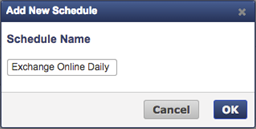
- Enter a name to represent the schedule, and click OK. The Edit Exchange Online page is updated with the new schedule name.
- Click Save. The Edit Backup Schedule page displays.
- In the Items to Back Up section, select individual items to back up, or click Apply to all computers and data sources for this Barracuda Backup Cloud Service to back up everything in Exchange Online.
- In the Schedule Timeline section, select the day you want the schedule to run.
- In the Daily Backup Timeline, specify the time of day the schedule is to run:
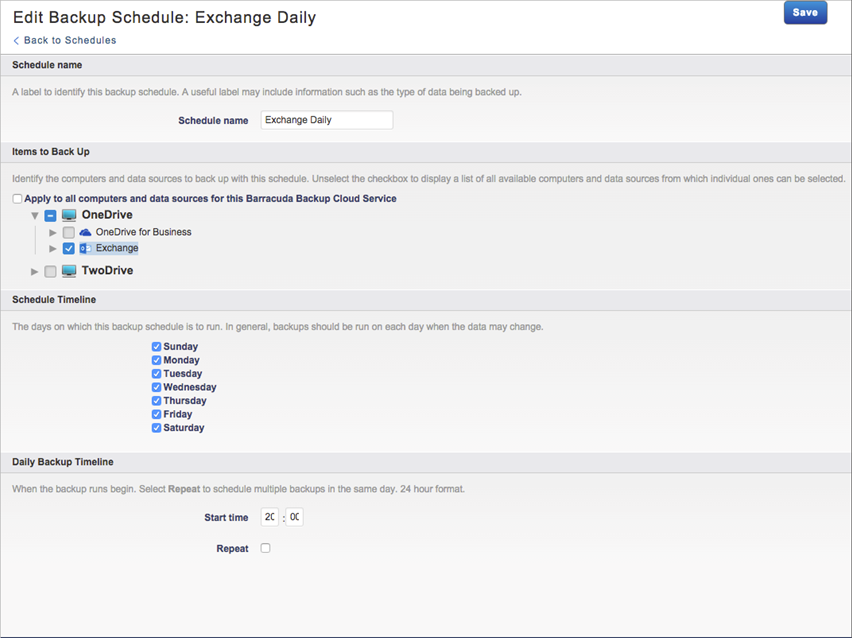
- Click Save. Exchange Online is backed up based on your data source and schedule settings.