

This article applies to Barracuda Cloud-to-Cloud Backup and Microsoft Groups.
Use the following steps to set up Groups backup:
- Log into Barracuda Backup, and select the Cloud Source in the left pane.
- In the Status page, click Groups:
- The Data Sources page displays. Click Add a Cloud Provider, and enter the following details:
- In the Cloud Provider description field, enter a name to represent the data source.
- From the Cloud Provider type drop-down menu, select Microsoft Office 365.
- Click Save.
- The Add a Cloud Data Source dialog box displays:
From the Data Type drop-down menu, select Groups.
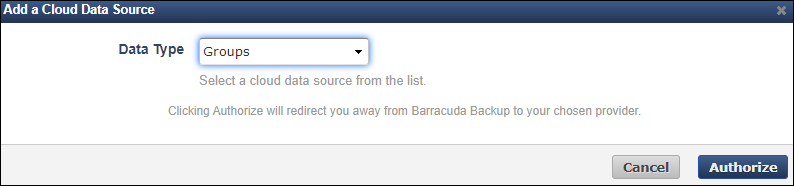
Click Authorize.
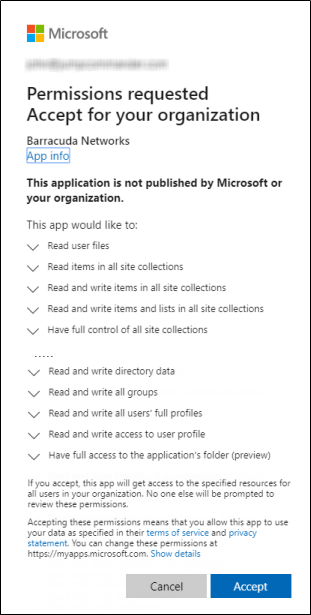
- In the Groups page, click Accept to authorize Barracuda to back up data from Groups:
- The Edit Groups page displays. Complete the following:
- Enter a name to identify the data source in the Data Description field.
- In the Add to schedule section, click the drop-down menu, and then click Add New:

- The Add New Schedule dialog box displays. Enter a name to represent the schedule:
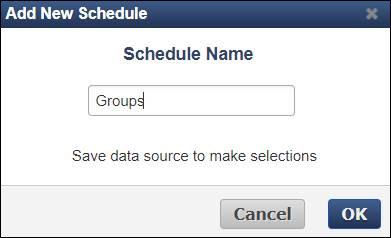
- Click OK. The Edit Groups page is updated with the new schedule name.
- Click Save. The Edit Backup Schedule page displays.
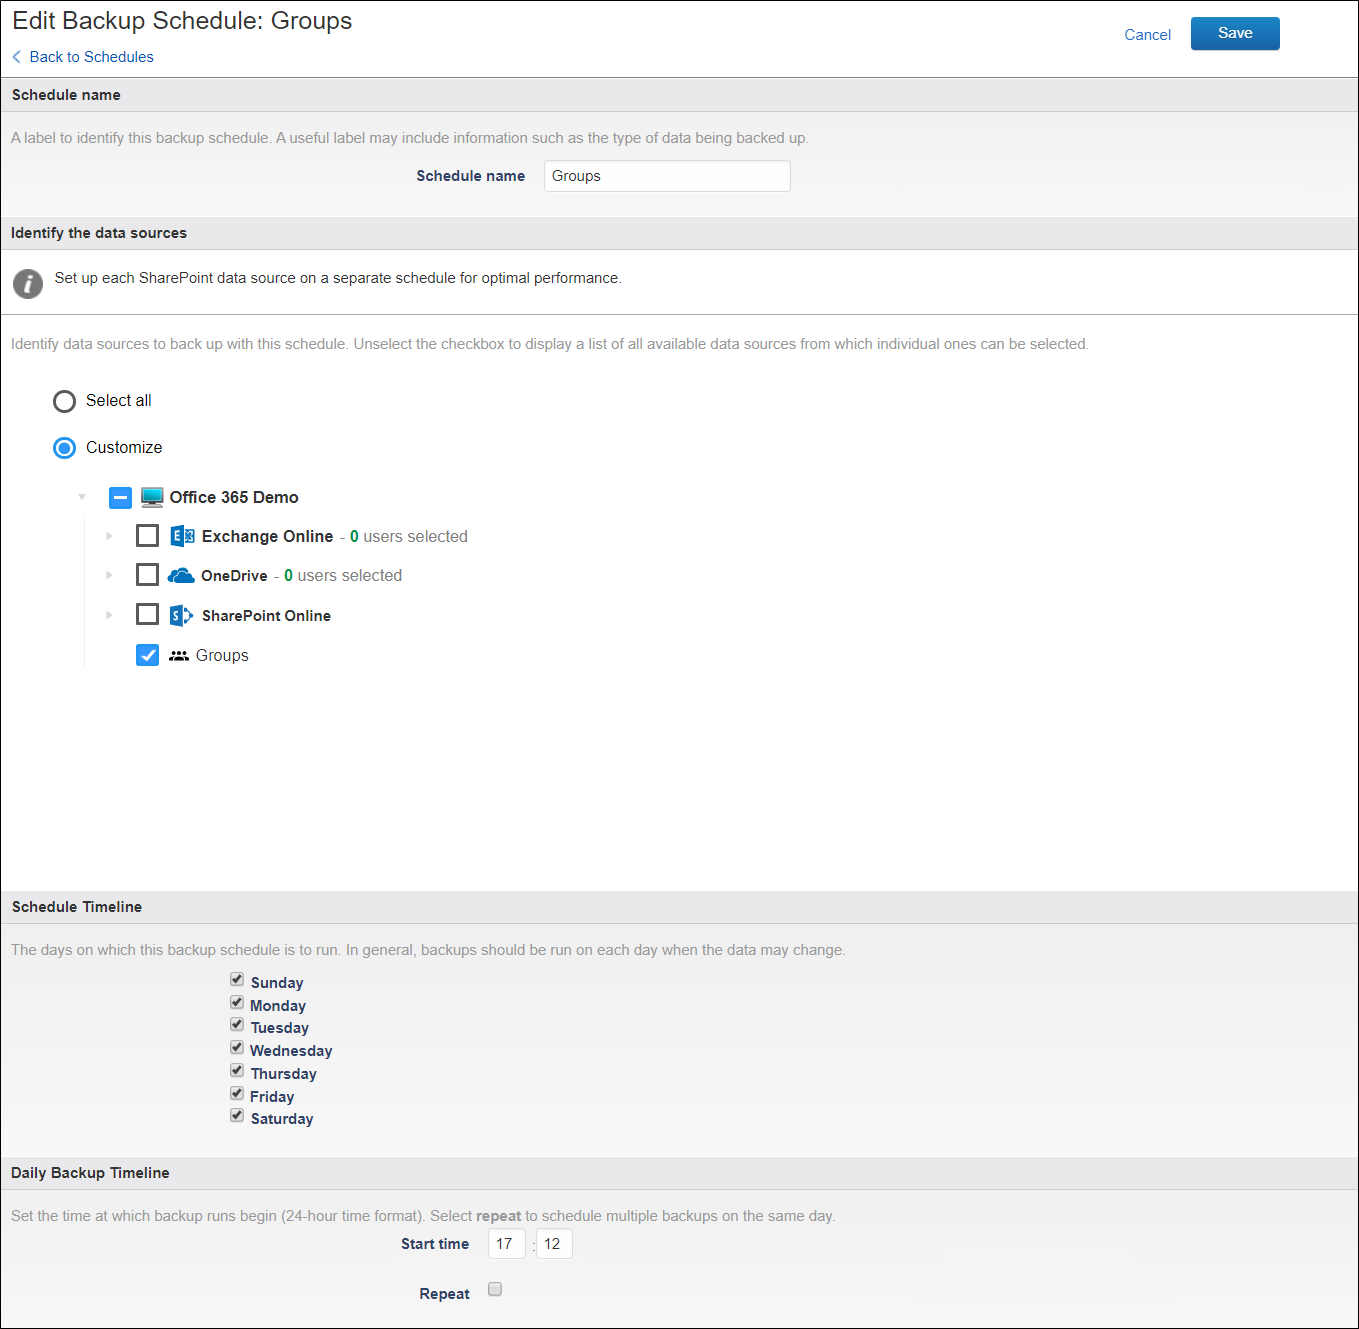
- In the Items to Back Up section, select individual items to back up, or click Select all to back up everything in Groups.
- In the Schedule Timeline section, select the day you want the schedule to run.
- In the Daily Backup Timeline, specify the time of day the schedule is to run:
- Click Save. Groups is backed up based on your data source and schedule settings.