

Quick Launch is a streamlined process for creating a campaign and going live. Campaigns created through Quick Launch are just like other campaigns, they are just faster to set up. Using the Quick Launch process is a helpful introduction to get you started working with campaigns. You can also choose to use Quick Launch every time you create a campaign.
This video shows how to use the Quick Launch process. The process is described below the video.
Videolink:
https://campus.barracuda.com/Using Quick Launch
To create and launch a campaign through Quick Launch:
- At the top of the Security Awareness Training Dashboard, click Quick Launch.

- Select the type of campaign you want to run – Testing (running a simulation with your users) or Training (educating your users).
- In the Recipients step, select the Address Book you want to use for this campaign. Then click Next.
If you have not already created an Address Book with active email addresses, create one now then restart the Quick Launch process. See Address Books for more information. - In the Content step, select the content you want to use for your campaign.
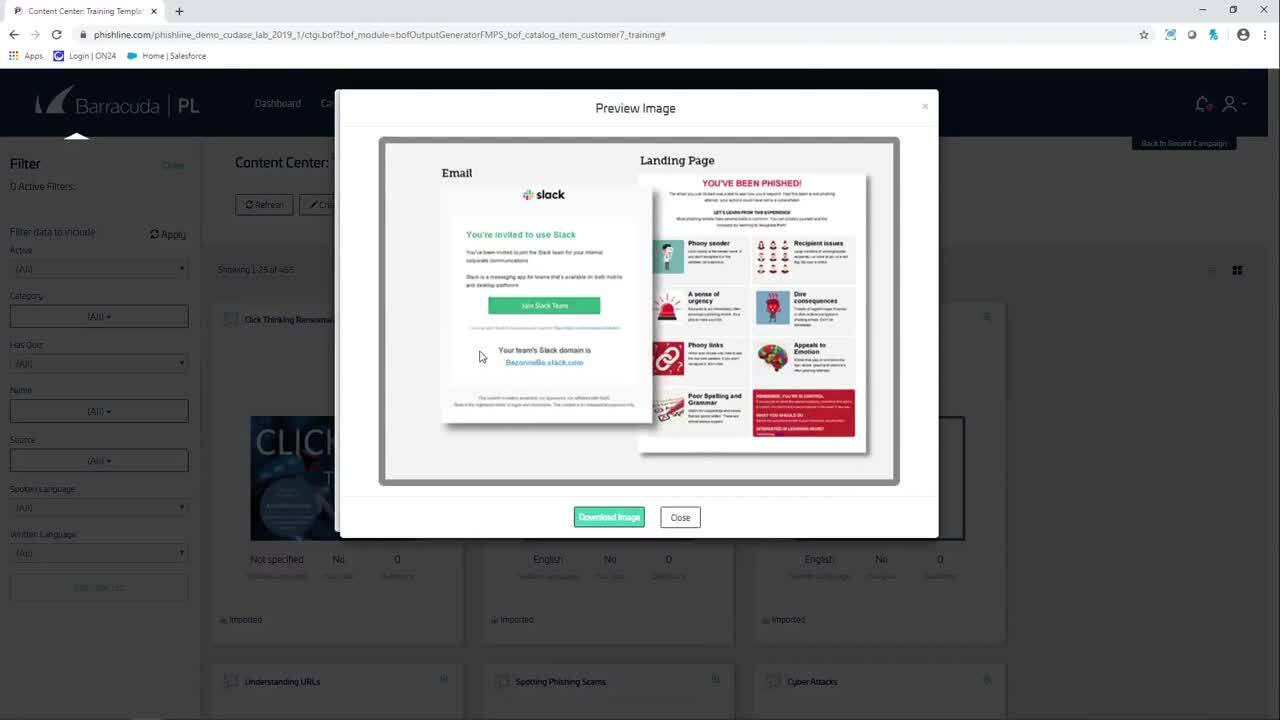
- Optional. Send yourself a sample of a campaign email, so you can preview your campaign before going live. To skip the sample, click Next and proceed to step 5 below.
- On the Content screen, after you select which campaign to run, click the Sample
 icon.
icon. - Confirm the campaign and specify one or more emails from one of your authorized domains to receive the sample. Separate multiple emails with commas. Click Send Sample.
You can only send samples from domains you have proven you own. See Domain Authorization for instructions and details. On the Success screen, click Back to return to creating the campaign. Check for the email and verify this is the campaign you want to send. Continue with Step 5.
- On the Content screen, after you select which campaign to run, click the Sample
- In the Schedule step, choose the date you want to start sending out emails. Click Next to continue.
When the campaign is launched, it will automatically start sending emails on the Start Date. Emails are sent to your recipients randomly, between the hours of 8:00 am and 4:00 pm in your local time zone. Campaigns created after 3:00 pm begin the next business day.
The following two dates are calculated by the system, based on your Start Date:- End Date – The last day emails for this campaign are sent. Calculated based on factors including the number of email recipients. Recipients can interact with the campaign past the End Date, until the Cutoff Date.
- Cutoff Date – Seven (7) business days after the campaign End Date. After this time, data is no longer collected and recipients can no longer interact with campaign landing pages. Results are available after the Cutoff Date. (See more on Results below.)
- In the Finalize step, review your campaign information. If you want to change anything, click the Previous button, make your changes, then click Next to return to this screen.
- Click Start Campaign.
The Success screen appears, letting you know the campaign was successfully created. - Click Close to exit the wizard.
Or click View Campaign to see details about the campaign. (Required if your campaigns require approval before launch. See below.)
When you view the campaign, you will first see the system process the campaign, moving it from the design stage all the way through to the Go Live stage. This process will take a few moments, then you can see the campaign.
If You Require Approval Before Launch
If all of your campaigns must be approved before going live, the campaign will not go all the way to Stage 4: Go Live and will not launch. It will wait in the approval stage until an authorized user takes action.
To approve a Campaign Created through Quick Launch:
- At the end of the wizard, click View Campaign.
- The campaign opens to Stage 3: Approve.
- An authorized user can now evaluate the campaign and, if appropriate, approve it and move it through to Stage 4: Go Live.
For details, see Approving an Email Campaign and Going Live.
Making Changes
If you choose, you can make changes to a campaign you create through Quick Launch. You must return to the Design stage to make changes. At this point, you are entering the main campaign design area of Security Awareness Training.
To make changes:
- After you create the campaign through Quick Launch, as described above, click View Campaign.
- The Stage 4: Go Live page displays. Click
 to return to the Design stage. Confirm that you want to return to Stage 1.
 - Make any changes you want, like allowing domains that appear on a block list or specifying approval comments. For details on items you can specify:
- In an email campaign, refer to Creating and Generating an Email Campaign.
- In a training campaign, refer to Creating and Running a Training Campaign.
- When you have finished, move through to Stage 4 and go live.
Reviewing Results
Results are available seven business days after the campaign Start Date.
To view a quick report, refer to Creating a Quick Report.
To view additional content for results:
- When it is time, navigate to Results > Outbound Analysis.
- Use the filters in the left panel to locate the desired campaign.
In the Campaign Name field, specify the name of this campaign. Then click Refresh. - Click the Campaign Stats tab to see basic information for this campaign.
For information on other data review on this page, see Outbound Analysis and Outbound Analysis Metrics.