It is not possible to switch between PAYG and BYOL licensed firewalls in the public cloud by changing the license on the firewall. The firewall must be redeployed with the desired images type. The configuration can then be restored from the PAR file of the source firewall. These instructions are also valid for migrating the from one PAYG firewall to another PAYG firewall instance.
Step 1. Back Up the Existing Firewall Configuration
Create a PAR file of the existing firewall. For more information, see How to Back Up and Restore Firewall, Secure Access Controller and Control Center Configurations.
Step 2. Redeploy Firewall Using the Desired Image Type (BYOL or PAYG)
Redeploy the firewall VM or instance.
Single DHCP Interface – For firewalls using a single DHCP interface, the redeployed firewalls can be deployed in parallel to minimize downtime during the migration. Access rules or other configurations using the IP address of the firewall and not the reference to the DHCP interface must be migrated manually after restoring the configuration.
- Static IP Address or Multiple NICs –If static IP addresses are used, the redeployed firewalls must use the same IP addresses. In this case, the old firewall must be deleted before redeploying the new image.
For more information, see Public Cloud.
Step 3. (PAYG only) Export the PAYG License
Restoring the firewall configuration from a PAR file also overwrites the existing licenses with the licenses included in the PAR file. Export the PAYG licenses to be able to restore them after restoring the configuration.
- Log into the redeployed firewall.
- Go to CONFIGURATION > Configuration Tree > Box > Box Licenses.
- Click Lock.
- Select the PAYG license in the Licenses list, click the export icon and click Export to File.

- Enter the File name.
- Click Save.
You now have a .lic file containing the PAYG license stored locally on your computer.
Step 3. Restore the Configuration from PAR File
Restore the configuration from the PAR file created on the replaced firewall.
- Go to CONFIGURATION > Configuration Tree > Box.
- Right-click Box and select Restore from PAR file from the context menu. the Restore from PAR file window opens.
- Click OK.
- Select the PAR file and click Open.
- Once the box configuration has been restored, click OK.
- Click Activate. The Activate Changes window opens.
- Click Activate.
Depending on the configuration, a network activation may be required. For more information, see How to Activate Network Changes.
Step 4. License the Firewall
Depending on the license type, either restore the PAYG license or activate the BYOL license on the firewall.
PAYG Licenses
- Log into the redeployed firewall.
- Go to CONFIGURATION > Configuration Tree > Box > Box Licenses.
- Click Lock.
- Select all licenses in the Licenses table and click the delete icon.
- Click + and select Import from Files.

- Select the license file exported in Step 3 and click Open. The Certificate View window opens.
- Click OK. The End User License Agreement window opens.
- Select I agree.
- Click OK.
- Click Send Changes and Activate.
BYOL Licenses
Activate the license by entering the activation code in the licensing element of the general dashboard.
For more information, see How to Activate and License a Stand-Alone Virtual or Public Cloud Firewall or Control Center.
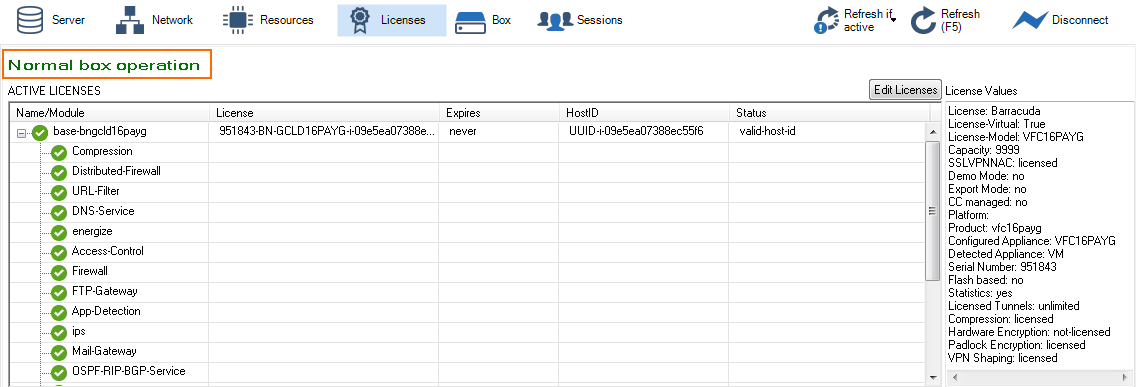
Go to CONTROL > Licenses to verify that the license state is Normal Operation and all licenses and subscriptions are green.

