

Prerequisites
You must perform the following tasks, before to restore Physical Imaging Rapid Recovery via Bare Metal Recovery:
- Download the Bare Metal Recovery Media:
Downloading the Recovery Media Creator as an ISO File
Downloading the Recovery Media Creator as a USB Flash Drive - Ensure the computer has at least 500 MB of hard drive space.
Running Recovery Media
To run the Recovery Media, perform the following steps.
- Boot the recovery machine from the disk or flash drive to start the recovery application.
The Bare Metal Restore screen is displayed.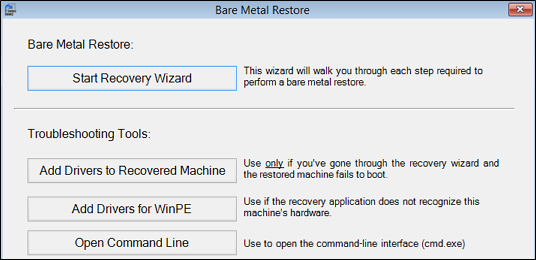
- Click Start Recovery Wizard .
The log in screen is displayed.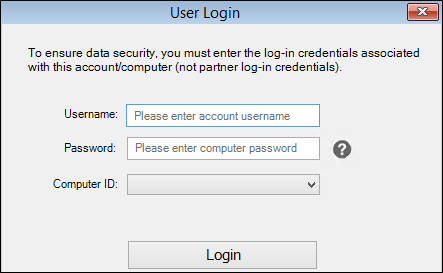
- Type your credentials, select the Computer ID, and then click the Login button.
Note : Credentials are not case sensitive.
If you have a private key associated to your computer, you are prompted to enter it.
The Select Backup Set Type screen is displayed with Physical Imaging Rapid Recovery selected as the default.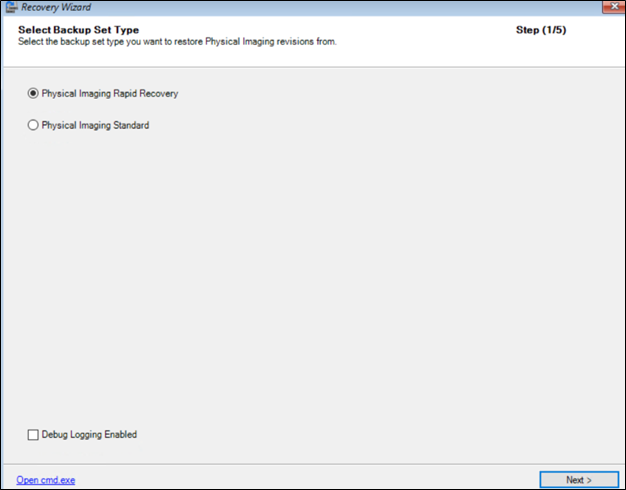
- Optionally select the Debug Logging Enabled check box, and then click Next .
The Select Backup Restore Source screen is displayed.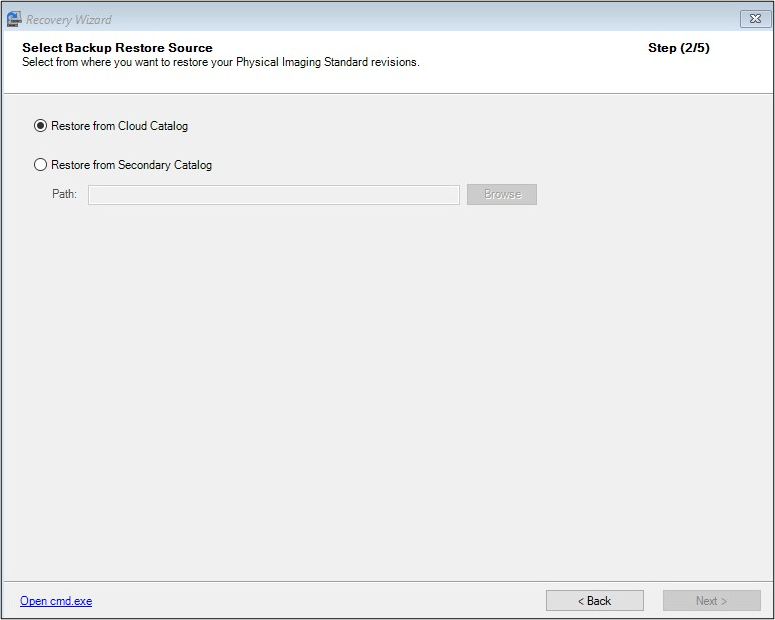
Select a Source Catalog option radio button and then click Next .
IF…
THEN…
there is not at least 500 MB of space available for the restore, the following error message is displayed.
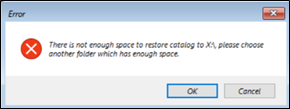
a. Click OK.
The Restore Catalog page is displayed.
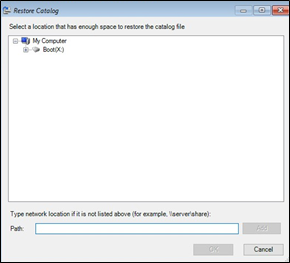
b. Select a location or type a path to a network share with at least 500 MB space to restore the catalog file and then click Add.
a restore catalog file already exists, the following message is displayed.
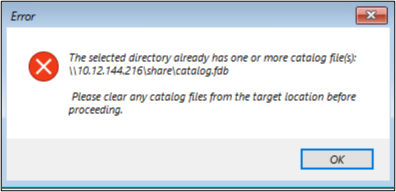
a. Click OK.
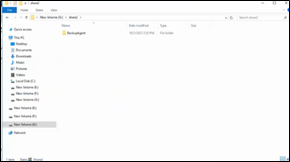
b. Delete the existing catalog or provide a new share for the recovery catalog, as show below.
The catalog is restored and the Select Recovery Volumes screen is displayed.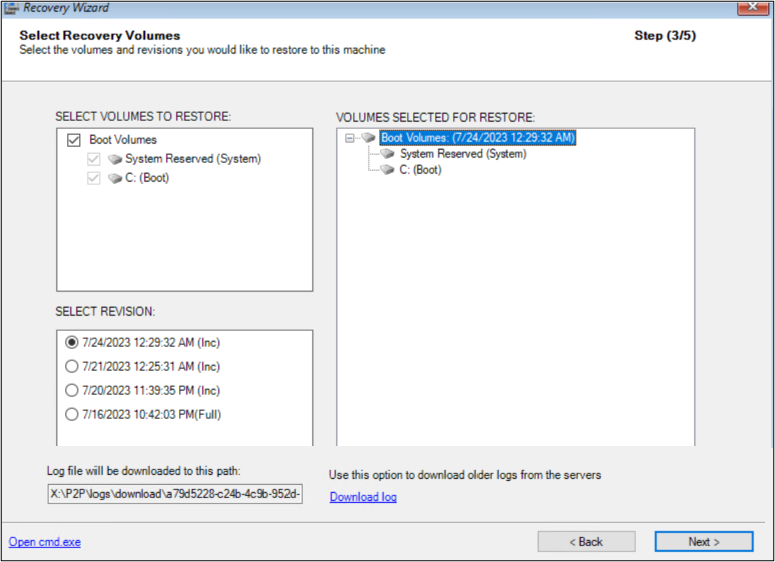
Select the volumes and the revisions to be restored.
The selections are displayed in the right pane.Click Next.
If the backup is online only, the recovery media takes the blocks directly from the Cloud.
If the backup is online & local or local only, the Local Vault Location is displayed.
Note : If the restore is local only, you must select the path for Local vault.
If the restore is online & local, you can click Cancel to advance to the Map Recovery Volumes to Target Disks page.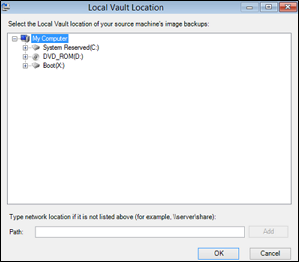
Select the Local Vault location of your source machine’s image backups, and then click OK.
The Map Recovery Volumes to Target Disks screen is displayed.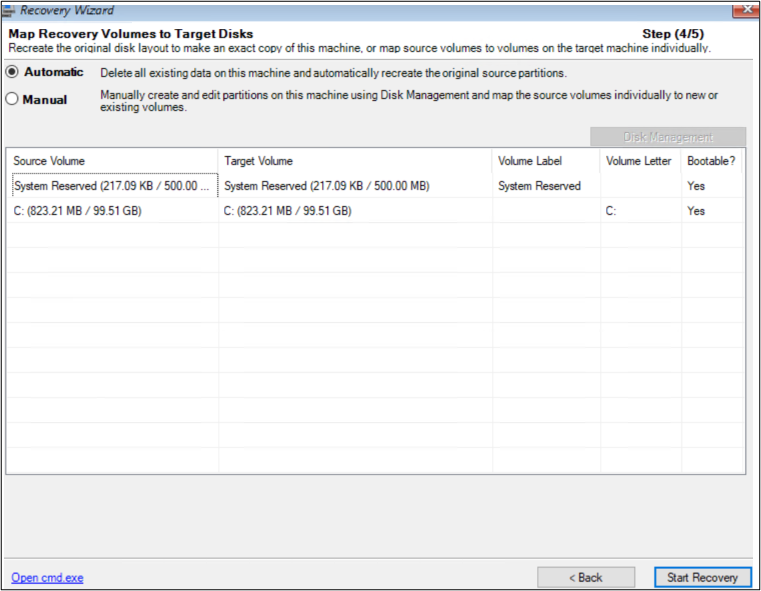
- To automatically restore all selected volumes to the target machine’s disk, select the Automatic radio button.
- To manually create volumes on the target machine, select the Manual radio button.
The manual fields are displayed.
For manual restore, click the Disk Management button and then, select which source volume to restore to which target volume.
- Click the Start Recovery button to begin the restore.
The Recovery Progress and Logs screen is displayed.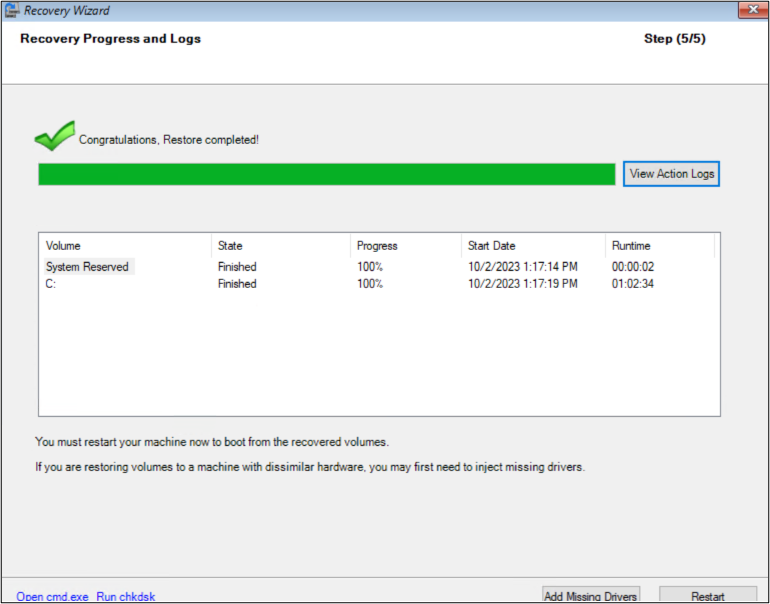
- Click the View Action Logs button to observe progress.
When successfully restored, the Congratulations message is displayed.
After the restore is completed without errors, chkdsk runs automatically.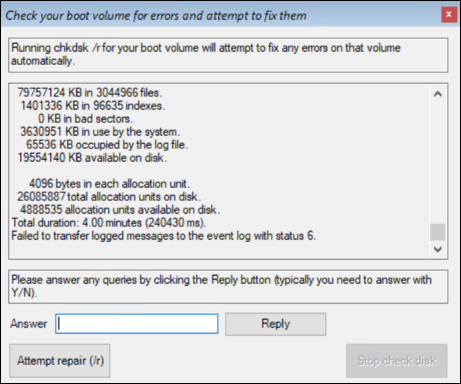
- Answer any queries by clicking the Reply button.
- Attempt to repair any errors by clicking the Attempt Repair button.
- If you are restoring volumes to a machine with dissimilar hardware, inject missing drivers by rebooting the machine or clicking the Add Missing Drivers button.
See Adding Missing Drivers. - Click the Restart button to boot from the recovered volumes.