

The Barracuda SecureEdge VTx appliance is available as a Generation-1 virtual machine for your Microsoft Hyper-V hypervisor. Before deploying the Barracuda SecureEdge VTx appliance, verify that the host system meets the minimum storage requirements and review the resource recommendations for the production system. Deploying the firewall as a Generation-2 VM on Hyper-V is currently not supported.
Before You Begin
- For information regarding the sizing of your CPU, disk, and RAM, see Virtual Systems (VTx) Deployment.
- Download the Barracuda SecureEdge VTx appliance VHD virtual disk image from the Barracuda Download Portal.
- Copy the VHD virtual disk image to the Microsoft Hyper-V server.
- Make sure the Hyper-V virtual machine uses a static MAC address on the network interface 1. This lets you move the VM later without invalidating your license.
Step 1. Create a New Virtual Machine
Create a virtual machine using the sizing recommendations for your model of the Barracuda SecureEdge VTx appliance.
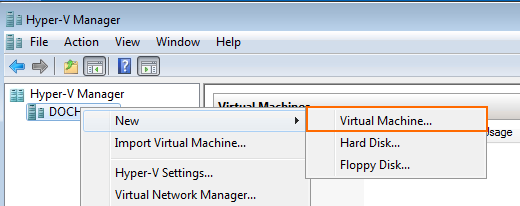
- Launch Hyper-V Manager.
- Right-click on your Hyper-V server and select New > Virtual Machine. The New Virtual Machine Wizard opens.
- Enter the Name. E.g.,
Barracuda SecureEdge VTx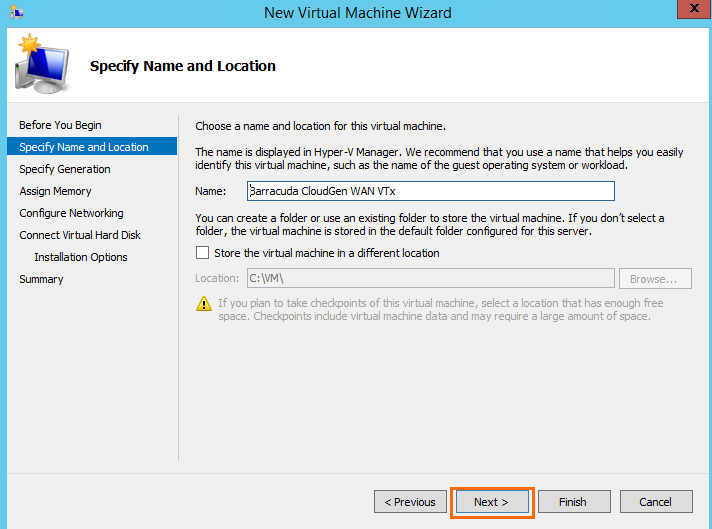
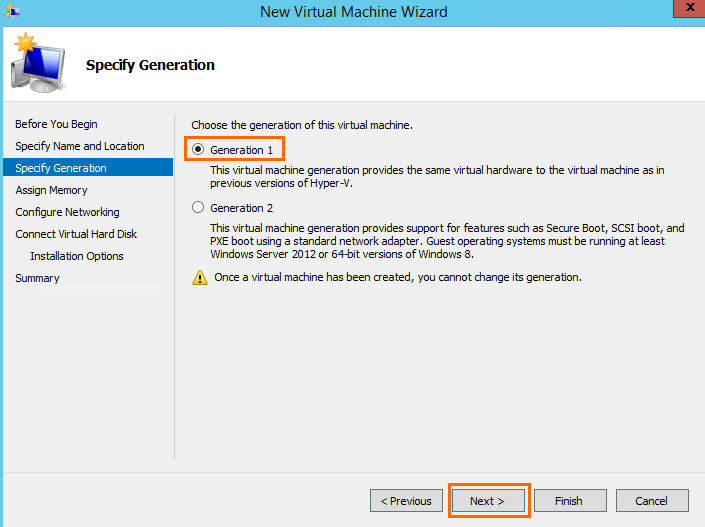
- The Specify Generation blade opens.
- Select Generation 1 and click Next to proceed.
- Enter the amount of memory in MB. E.g., 4096. For information regarding the sizing of your CPU, disk, and RAM, see Virtual Systems (VTx) Deployment.
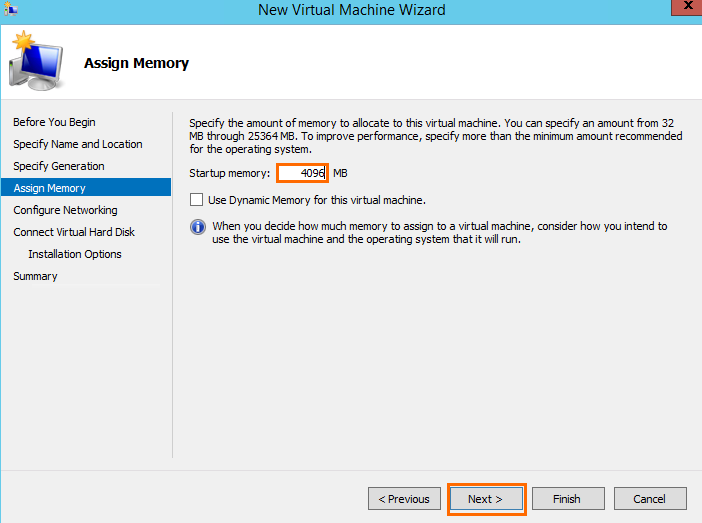
- Click Next.
- The Configure Networking blade opens. Select Not Connected from the Connection drop down-menu. If you are using High Availability, select the virtual switch where only port 1 of the other virtual machine of the High Availability cluster is connected to.
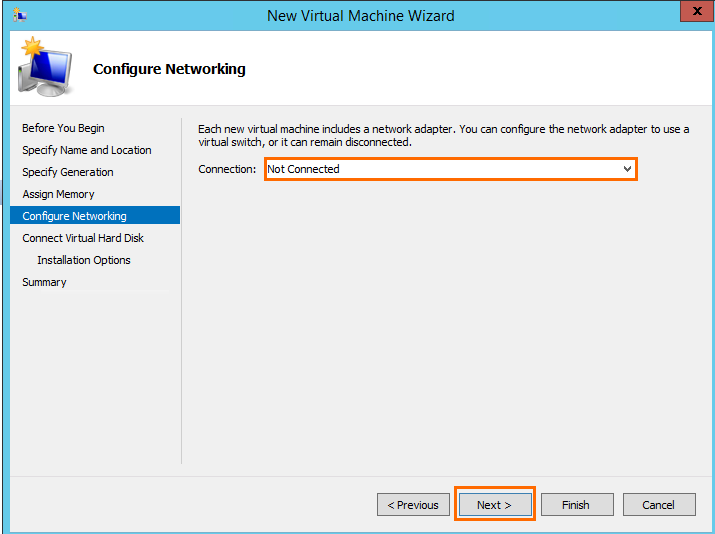
- Click Next.
- The Connect Virtual Had Disk blade opens.
- Select Use an existing virtual hard disk and click Browse to specify the Location of the VHD file downloaded earlier.
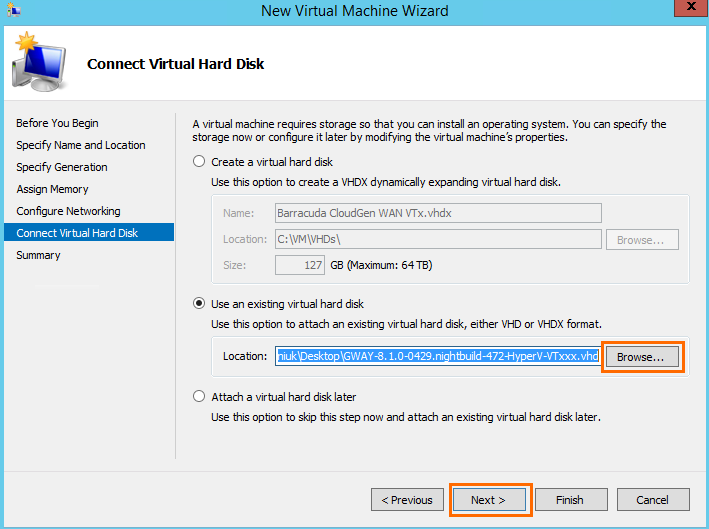
- Click Next.
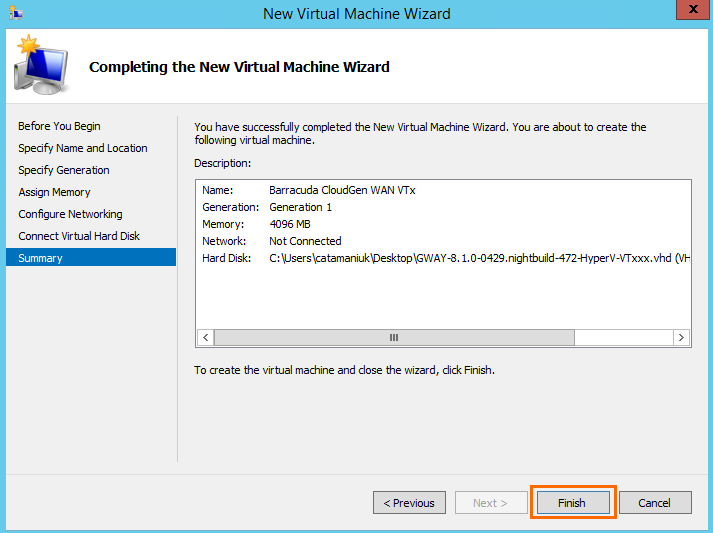
- The Summary blade opens. Review the summery and click Finish.
Do not start the virtual machine at this point.
Step 2. Networking of the Virtual Machine
By default, Barracuda SecureEdge appliances use 5 network interfaces. Therefore, 4 network interfaces must be added and connected according to the configuration you applied in the How to Create a T/VT Site Configuration in Barracuda SecureEdge.
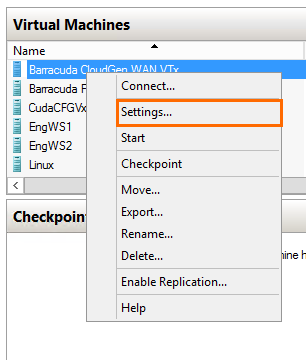
- Launch Hyper-V Manager.
- Right-click on your virtual machine deployed in Step 1.
- Click Settings.
- Click on the first Network Adapter entry.
- Click + next to the first Network Adapter entry.
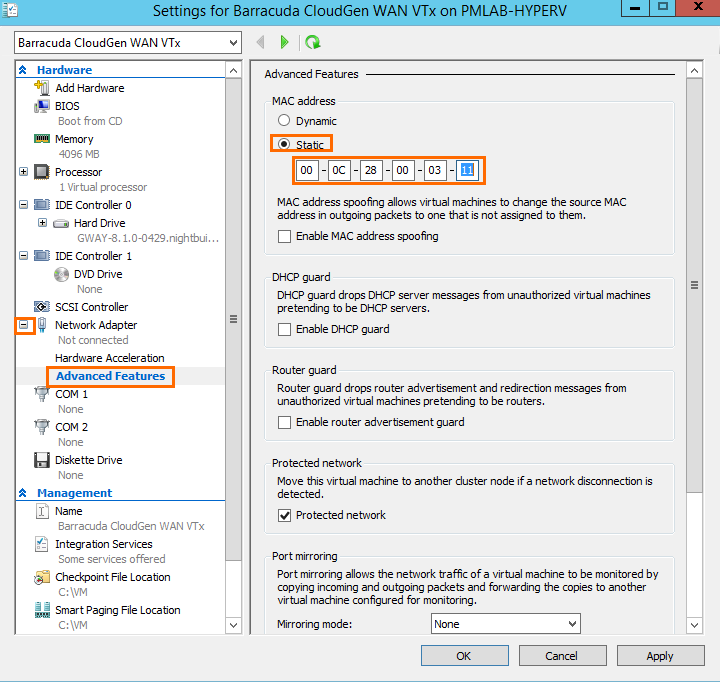
- Click Advanced Features.
- In the MAC address section, select Static and enter a MAC address. This lets you move the VM later without invalidating your license.
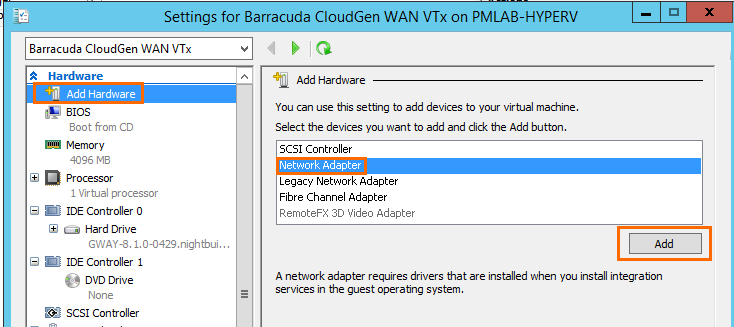
- Click Add Hardware.
- Select Network Adapter.
- Click Add.
- Repeat Step 8 to Step 10 until you have 5 network adapters configured.
Click on the entry of the 4th network adapter.
From the Virtual switch drop-down menu, select a network with Internet connection using DHCP.
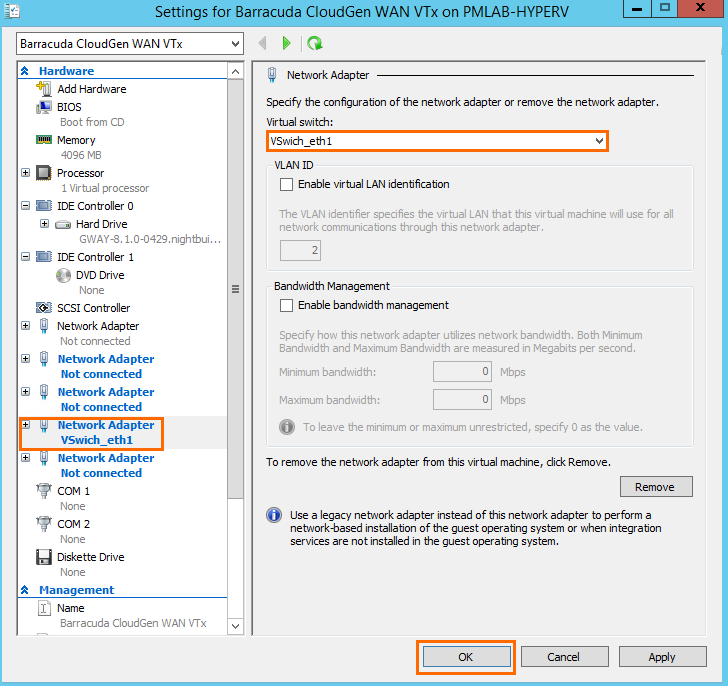
- Connect the other network adapters according to the configuration created in How to Create a T/VT Site Configuration in Barracuda SecureEdge.
- Click OK.
You can start the virtual machine now.
Step 3. Enter the License Token
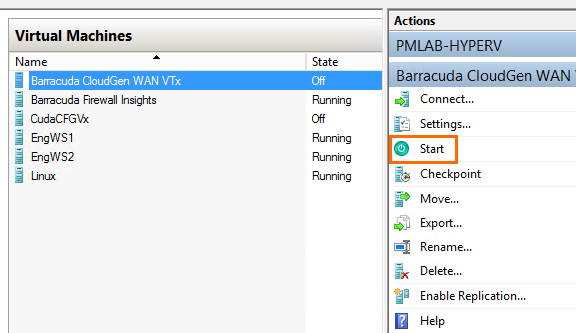
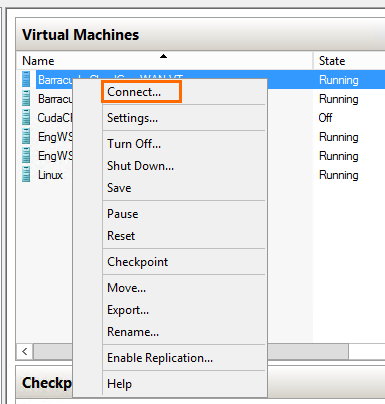
- Select the virtual machine created in Step 1 and click Start.
- Right-click in the virtual machine and click Connect to open the console of the virtual machine.
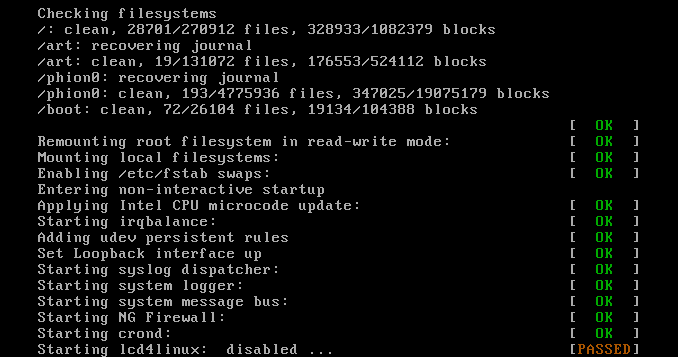
The Barracuda SecureEdge VTx unit boots.
- For a basic configuration, the SecureEdge unit launches the Active Recovery Technology menu.
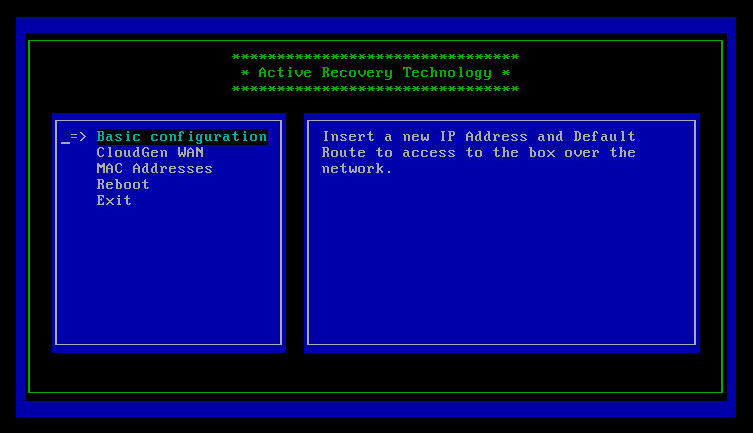
- Select SecureEdge with the arrow keys and press Enter.
- Enter the license token:
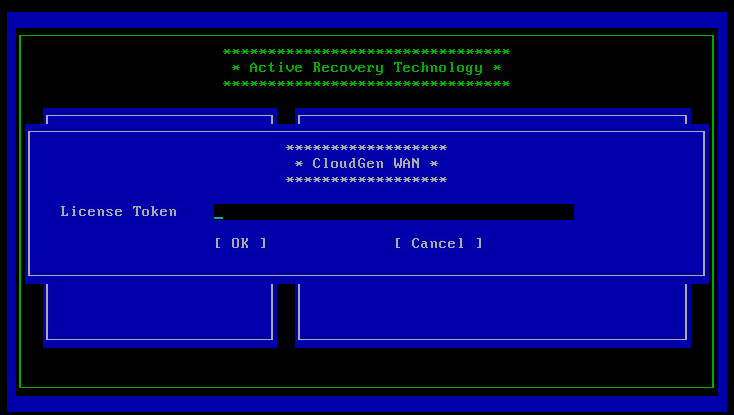
- Select OK with the arrow keys and press Enter.
- The appliance connects to the SecureEdge service and applies the configuration set in How to Create a T/VT Site Configuration in Barracuda SecureEdge.