

A DHCP reservation is necessary if either you want to assign a specific IP address to a specific client, or you have enabled the setting Only Allow Known MAC Addresses. If this setting is enabled, only clients added to the DHCP Reservation table with their MAC address will be able to use the DHCP service. For more information, see How to Configure DHCP to Assign IPs to Known MAC Addresses.
Before You Begin
- The DHCP service must be enabled on the site appliance. For more information, see How to Enable the DHCP Service on a Site Device.
Create a DHCP Reservation
- Go to https://se.barracudanetworks.com and log in with your existing Barracuda Cloud Control account.
- Select the workspace containing your site.
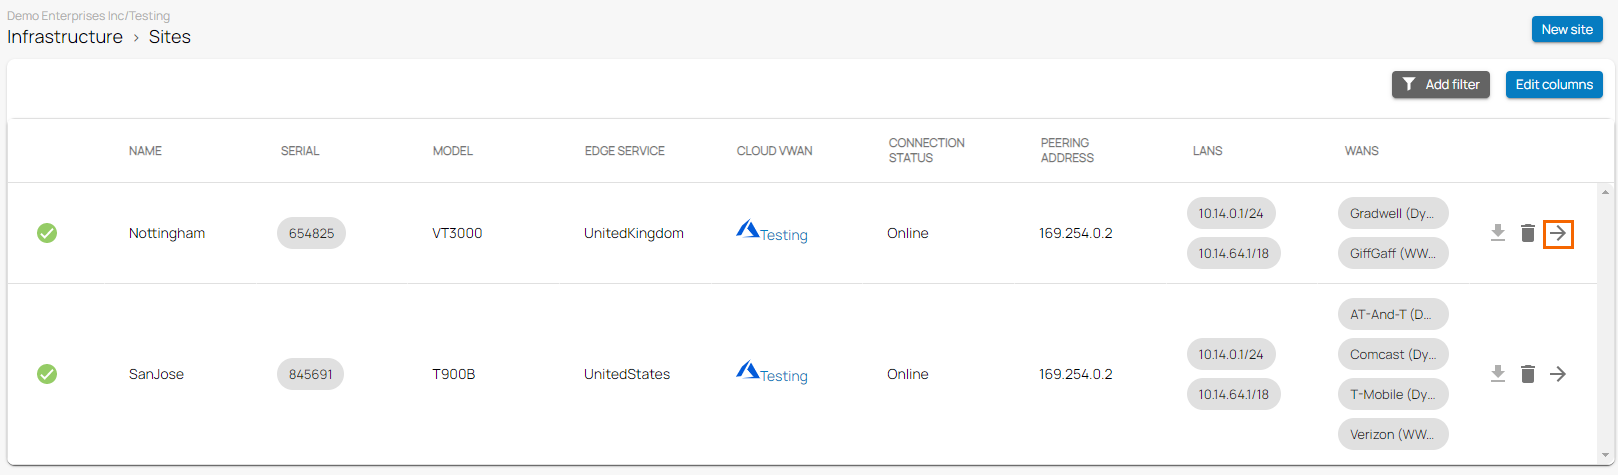
- Go to Infrastructure > Sites. The Sites page opens.
- Select the site where you want to enable the DHCP service. You can either search for the name or serial, or use filters to tailor the list of displayed sites. You can also simply scroll through the list. Click on the arrow icon next to site you want to edit.
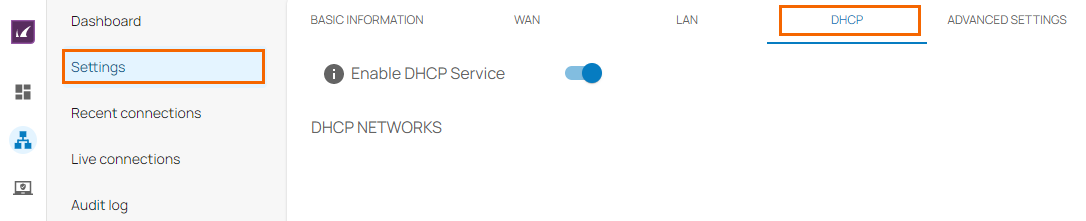
- In the site menu, go to Settings > DHCP.
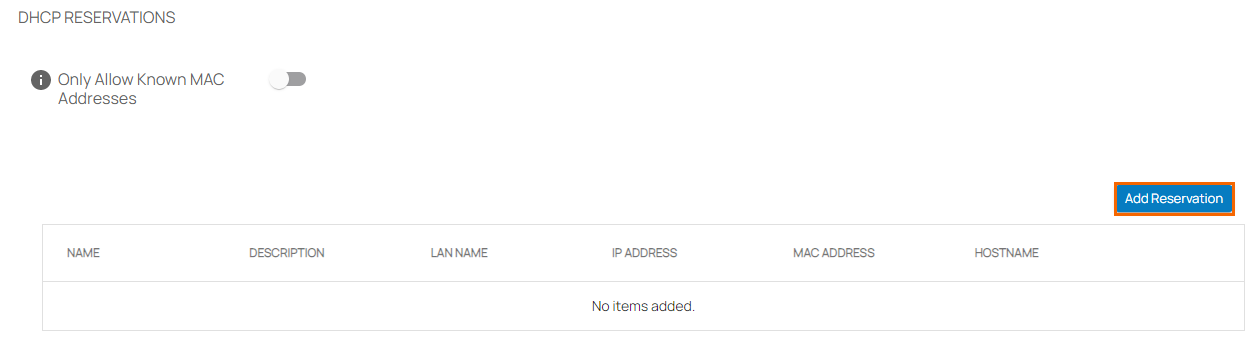
- In the DHCP Reservations section, click Add Reservation.
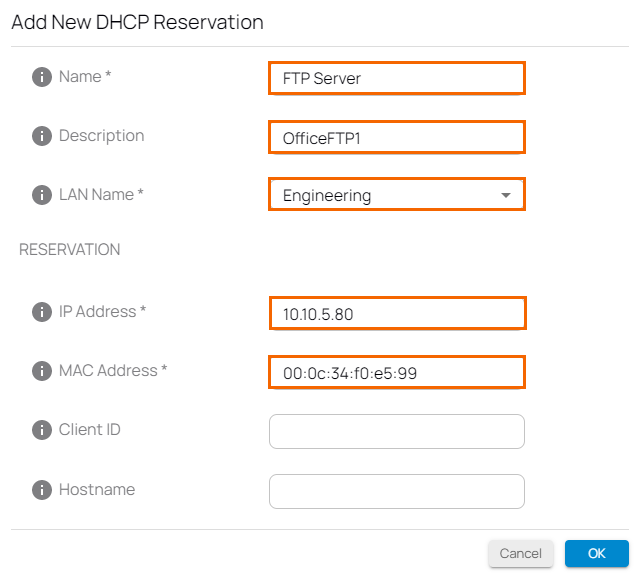
- The Add New DHCP Reservation window opens. Specify values for the following:
- Name – Enter the name of the client of this reservation.
- Description – Enter a description.
- LAN Name – Select the LAN where the client is connected to.
- IP Address – Enter the IP address you want to assign to the client.
- MAC Address – Enter the MAC address of the client.
- Client ID (Optional) – Enter the client ID.
- Hostname (Optional) – Enter the hostname of the client.
- Click OK.
- Click Save.