

Barracuda SecureEdge allows you to restrict access to the Point-to-Site feature based on users and groups.
Before You Begin
- Synchronize your Microsoft Entra ID with Barracuda Cloud Control. For more information, see How to Connect Your Microsoft Entra ID with Barracuda Cloud Control.
- Create a SAML endpoint in Microsoft Azure and provide a basic configuration of the User Connectivity & Personal Security feature. For more information, see How to Create a SAML Endpoint in Microsoft Azure and Basic User Connectivity & Personal Security Configuration.
Step 1. Group Claims in Microsoft Azure
- Log into the Azure portal: https://portal.azure.com
- In the left menu, click All services and search for Microsoft Entra ID.
- Click Microsoft Entra ID.
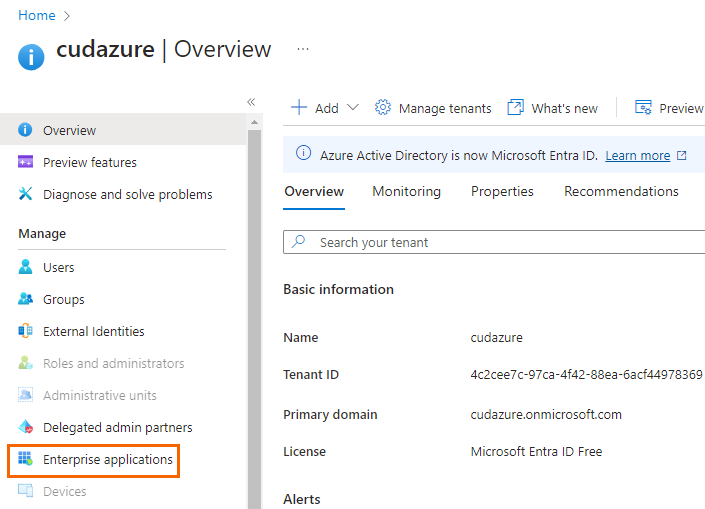
- In the left menu of the Microsoft Entra ID blade, click Enterprise applications.
- In the Enterprise applications blade, click All applications.
- Click on the application you created, e.g., Campus-SAML-Endpoint.
- Click Single sign-on.
- The Set up Single Sign-On with SAML blade opens.
- In the User Attributes & Claims section, click Edit.
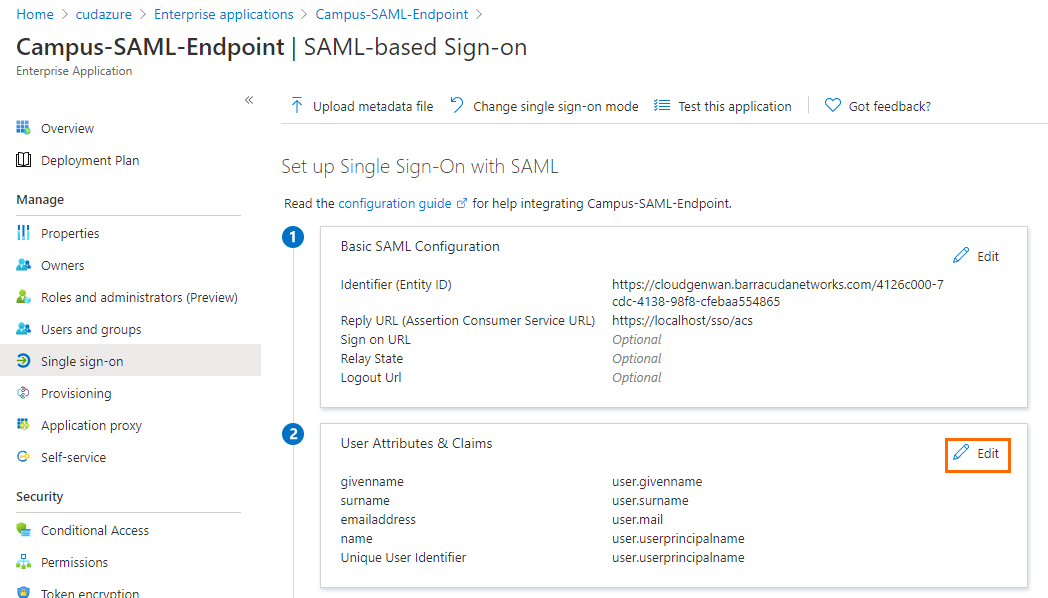
- The User Attribute and Claims blade opens.
- Click Add a group claim.

- The Group claim blade opens. Specify values for the following:
- Which groups associated with the user should be returned in the claim? – Select Security groups.
- Source attribute – Select Group ID.

- Click Save.
Step 2. Configuration in Barracuda SecureEdge
Go to https://se.barracudanetworks.com and log in with your existing Barracuda Cloud Control account.
- Go to Infrastructure > Settings.
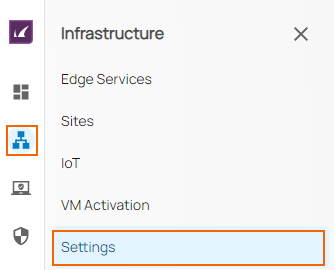
- The Settings configuration window opens.
- Scroll down to the MICROSOFT ENTRA ID INTEGRATION section.
- In the Allowed VPN User Group, type to search for users or groups you want to grant permission to use Personal Access. Only users and groups added here are allowed to use Personal Access.
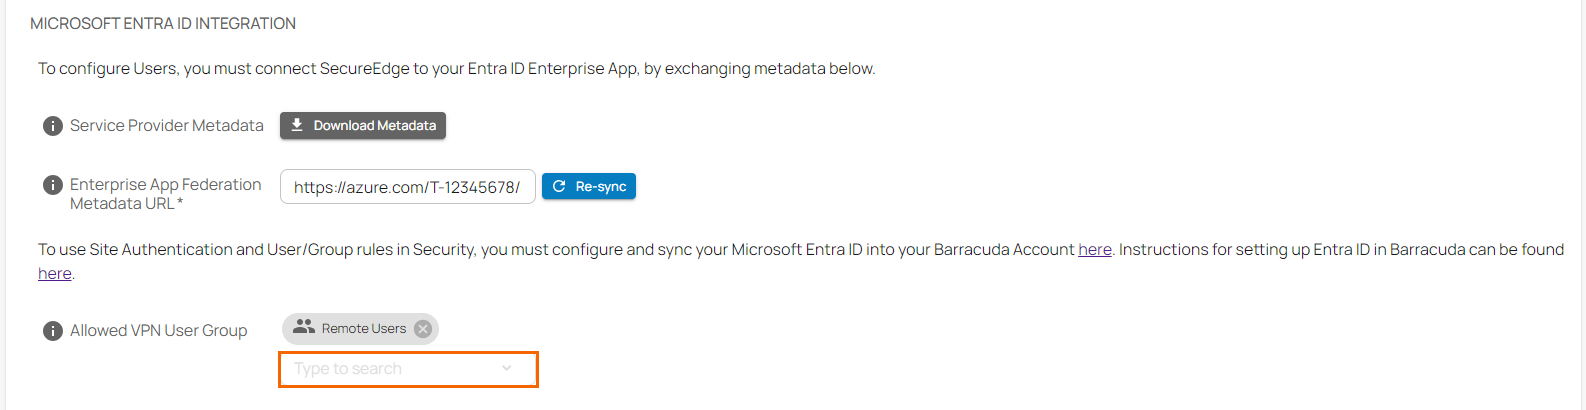
- Click Save.
Further Information
- For more information on Personal Access and Site Authentication, see Point-to-Site.