

To create a Physical Imaging Rapid Recovery backup, perform the following step
- Navigate to the Computer page. See Navigating to the Computer Page for instructions.
The Computer page is displayed.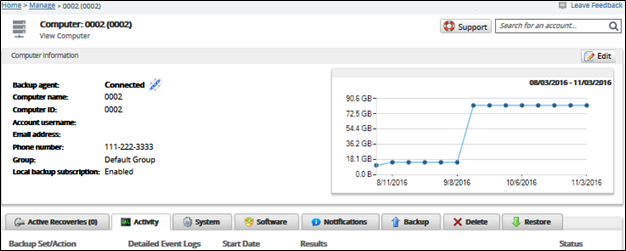
- Click the Backup tab.
The Backup Selections page is displayed.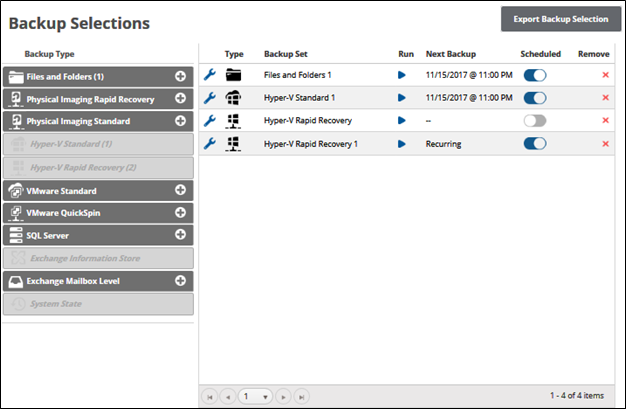
- In the Backup Type pane, click Physical Imaging Rapid Recovery.
The Select page is displayed.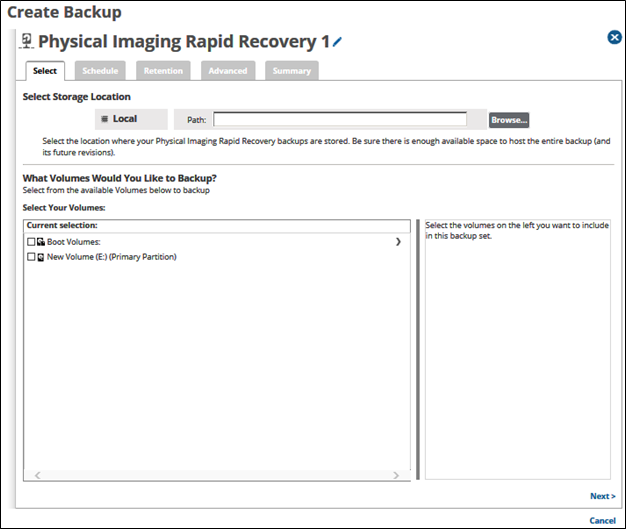
- Click the Backup Name to provide a new name for the backup set or accept the default. See Changing Backup Set Names.
At the Select Storage Location Path field, type or browse to the destination of the backup. See Browsing to a Folder.
In the Current Selection pane, select the volumes you would like to back up.
Clicking the arrow at the right of the items displays more volumes
The selection is displayed in the far-right pane. Click the remove icon to remove any selections.
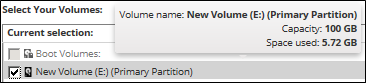
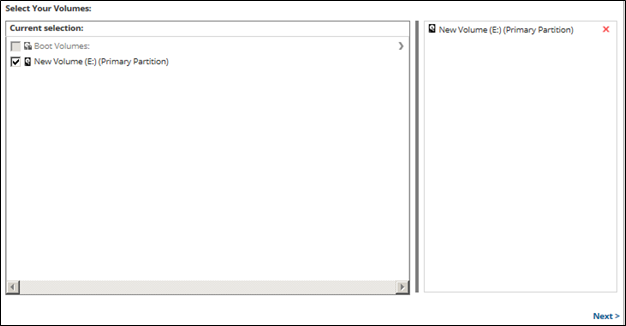 The boot volumes group allows easy selection of any volume required to perform a restore of the physical system as a functional virtual machine or as VHD/X.
Hovering over an available selection displays its capacity and spaced used, as shown below.
Hovering over an unavailable volume, displays its status, as shown below.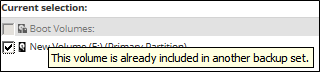
You cannot select removable media for backup. If attempted, the following error message is displayed.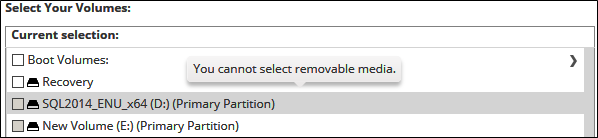
- After selecting the volumes/revisions for backup, click Next.
The Schedule page is displayed.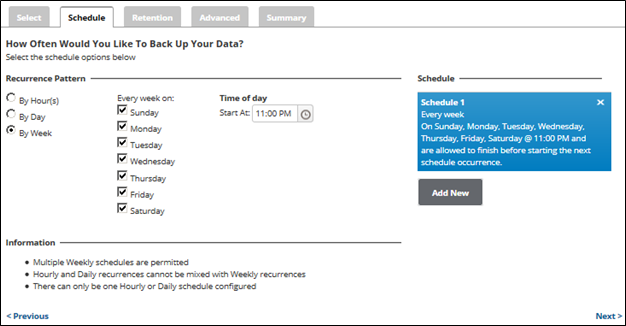
Accept or edit the default schedule. See Adding a New Daily or Weekly Schedule for more information.
- After setting the schedule, click Next.
The Retention page is displayed.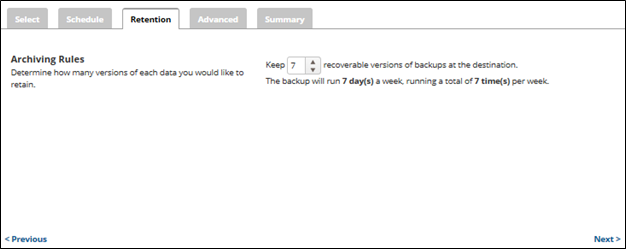
Note: The default backup runs 7 days a week, retaining 7 versions of the backup. - Select the number of versions you wish to archive, and then click Next.
The Advanced page is displayed.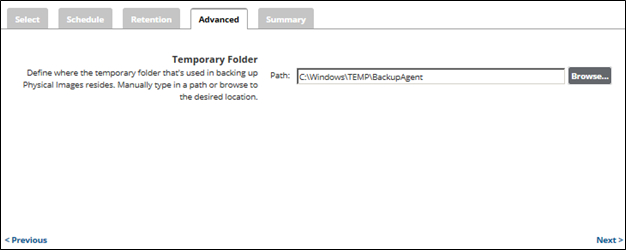
Requirement: You must specify a temporary folder located on a disk with enough space. - At the Temporary Folder field, accept the default, type a new path, or click the Browse button to locate the temporary folder that is used in backing up. See Browsing to a Folder.
- After selecting the destination of the restore, click Next.
The Summary page is displayed.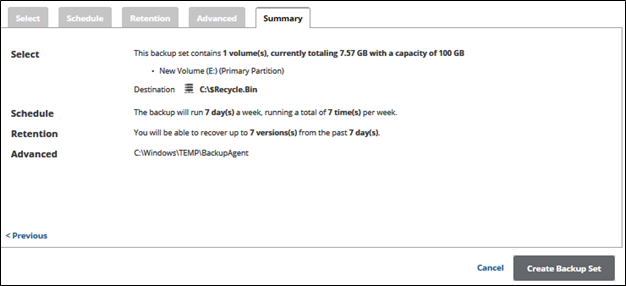
- After reviewing your selections, click the Create Backup Set
If you did not change the default backup set name, a confirmation pop-up is displayed after clicking the Create Backup Set button, as shown in the example below.
This feature allows you to create a unique name for the backup set. If you already changed the default backup set name, the pop-up is not displayed.
Optionally, change the backup set name, press Enter, and then click Confirm.
The schedule backup is displayed on the Backup Selections page.