

Custom applications allow you to extend the predefined application database used by the Policies.
There are two types of custom applications:
- Custom Network Applications – Allow you to handle multiple protocols, destinations, or ports in any combination. The matching criteria are based on the OSI model layer 3 and 4 (network and transport layer). Multiple application endpoints can be used. The destination can either be an IP address, network or domain which gets resolved to IP addresses for the matching.
- Custom Web Applications – The matching criteria are based on the OSI model layer 7 and are limited to HTTP and HTTPS. The HTTP/S requests and responses are used for matching. For HTTPS, the server name indication SNI is used to extract the destination information, whereas for HTTP the header information is used for determination.
When a custom application is added without being used by a policy, it is matched with the Remote Access default policy. However, other policies will still be evaluated.
Create a Custom Network Application
- Go to https://se.barracudanetworks.com and log in with your existing Barracuda Cloud Control account.
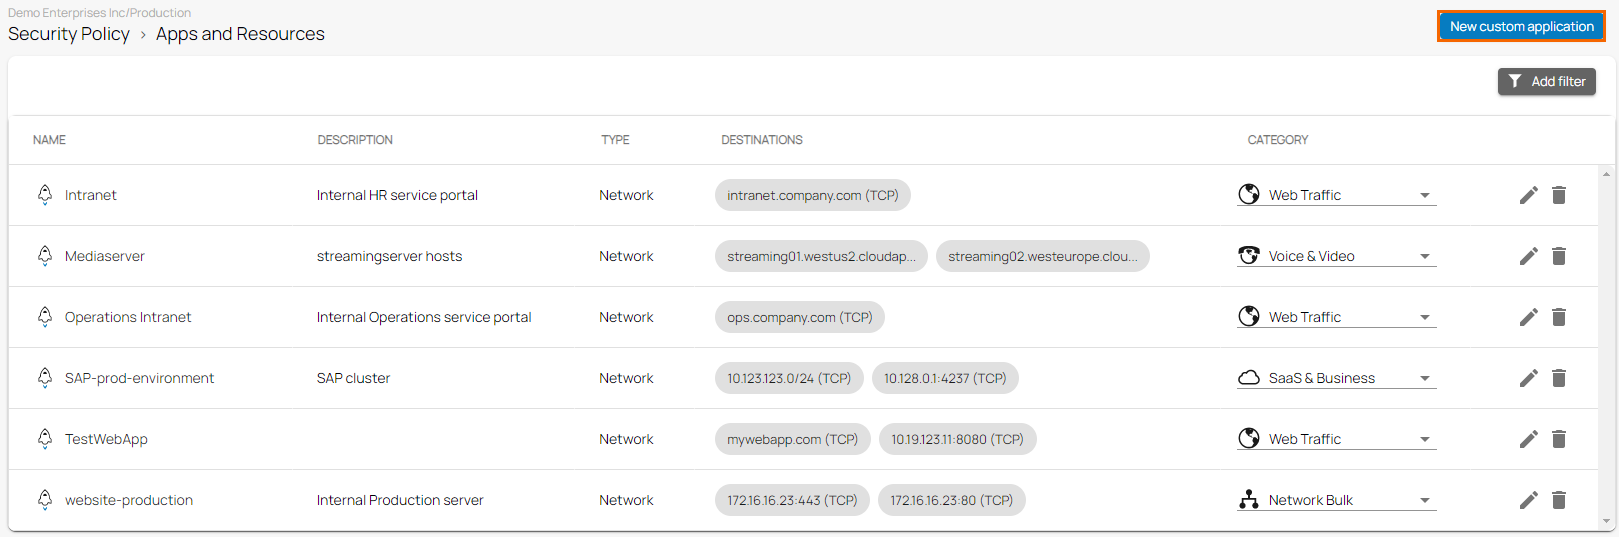
- Go to Security Policy > Apps and Resources.
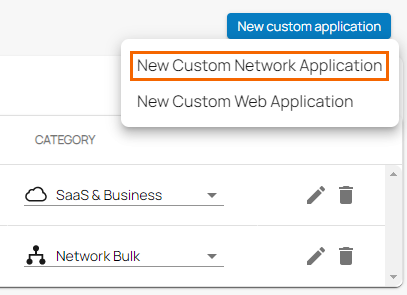
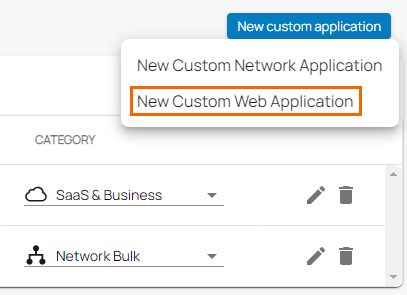
- The Apps and Resources page opens. In the top-right of the window, click New Custom Application.
- Select New Custom Network Application from the drop-down menu.
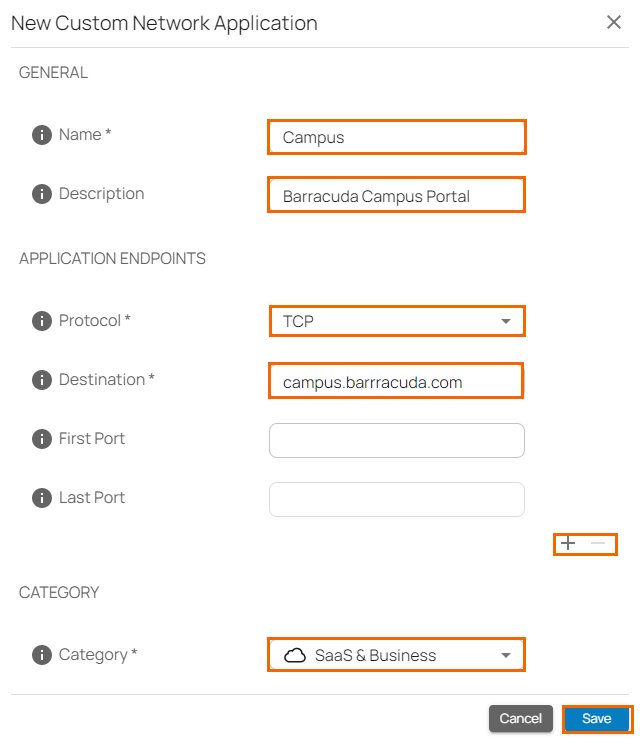
- The New Custom Network Application window opens. Specify values for the following:
- In the GENERAL section, specify the following:
- Name – Enter a name for the custom application.
- Description – Enter a description for the custom application.
- In the APPLICATION ENDPOINTS section, specify the following:
- Protocol – Select the protocol from the drop-down menu. You can choose between TCP, UDP, and Any.
- Destination – Specify the destination. It can be either an IP address, a network, or a domain, which gets resolved to IP addresses for the matching.
- First Port – The first port (optional) in the range of ports used by this custom application.
- Last Port – The last port (optional) in the range of ports used by this custom application.
- When adding or removing application endpoints click + or - accordingly.
- In the CATEGORY section, specify the following:
- Category – Select the category from the drop-down menu.
- In the GENERAL section, specify the following:
- Click Save.
Create a Custom Web Application
- Go to https://se.barracudanetworks.com and log in with your existing Barracuda Cloud Control account.
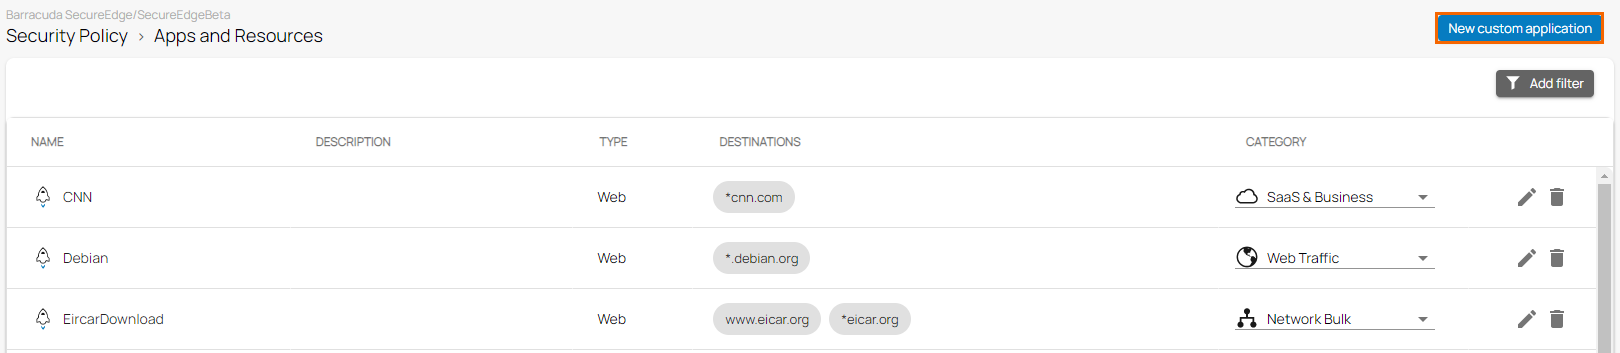
- Go to Security Policy > Apps and Resources.
- The Apps and Resources page opens. In the top-right of the window, click New Custom Application.
- Select New Custom Web Application from the drop-down menu.
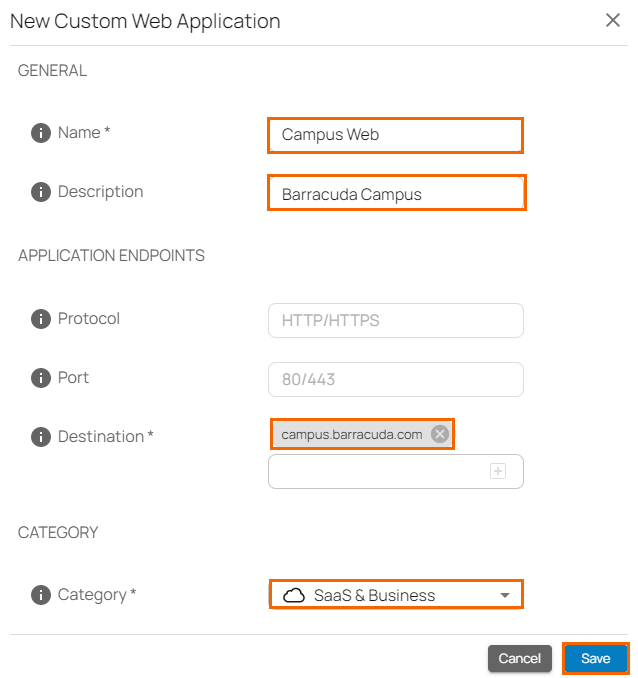
- The New Custom Web Application window opens. Specify values for the following:
- In the GENERAL section, specify the following:
- Name – Enter a name for the custom application.
- Description – Enter a description for the custom application.
- In the APPLICATION ENDPOINTS section, specify the following:
- Protocol – The protocol used by this custom application. It can be either an HTTP or HTTPS protocol.
- Port – The port used by this custom application. It can be either port 80 or 443.
- Destination – Enter the destination and click +.
- In the CATEGORY section, specify the value for the following:
- Category – Select the category from the drop-down menu.
- In the GENERAL section, specify the following:
- Click Save
Edit an Existing Custom Network/ Web Application
To edit an existing custom network/web application:
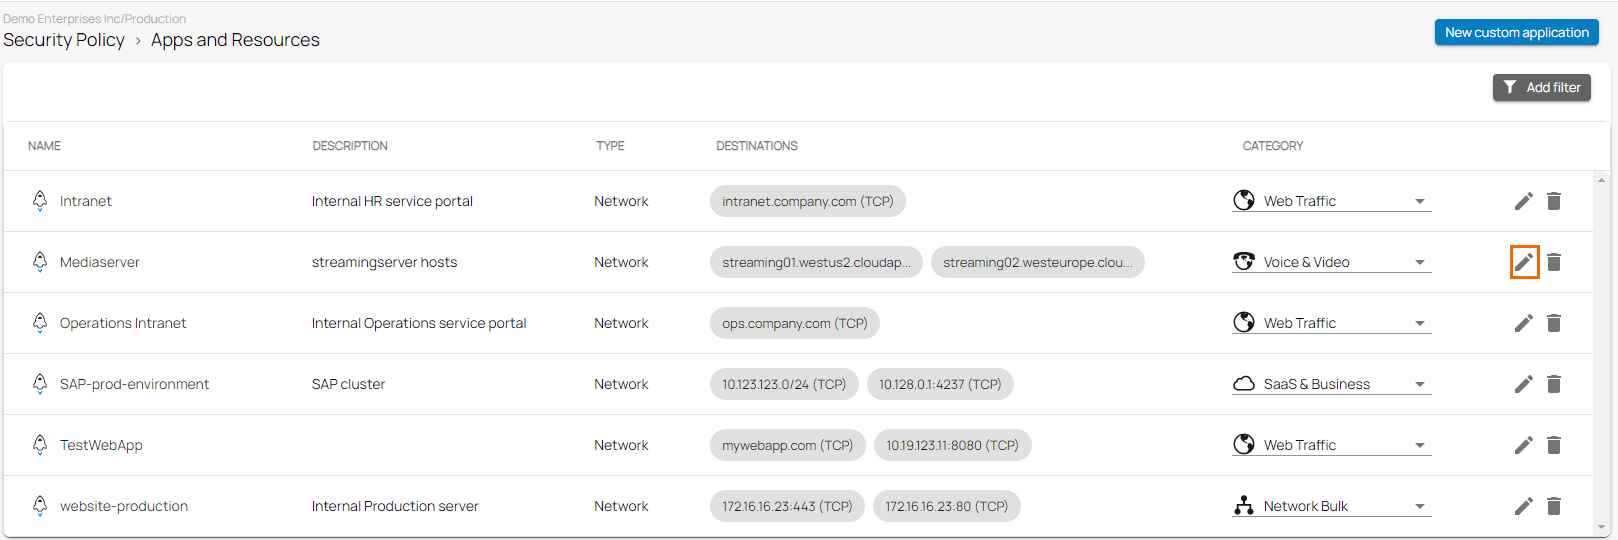
- Go to Security Policy > Apps and Resources.
- The Apps and Resources page opens. Click on the pencil icon next to the custom application you want to edit.
- The Edit Custom Application window opens. Edit the value you are interested in.
Click Save.
Remove an Existing Custom Network/Web Application
To remove an existing custom network/web application:
- Go to Security Policy > Apps and Resources.
- The Apps and Resources page opens. Click on the trash can icon next to the custom application you want to remove.
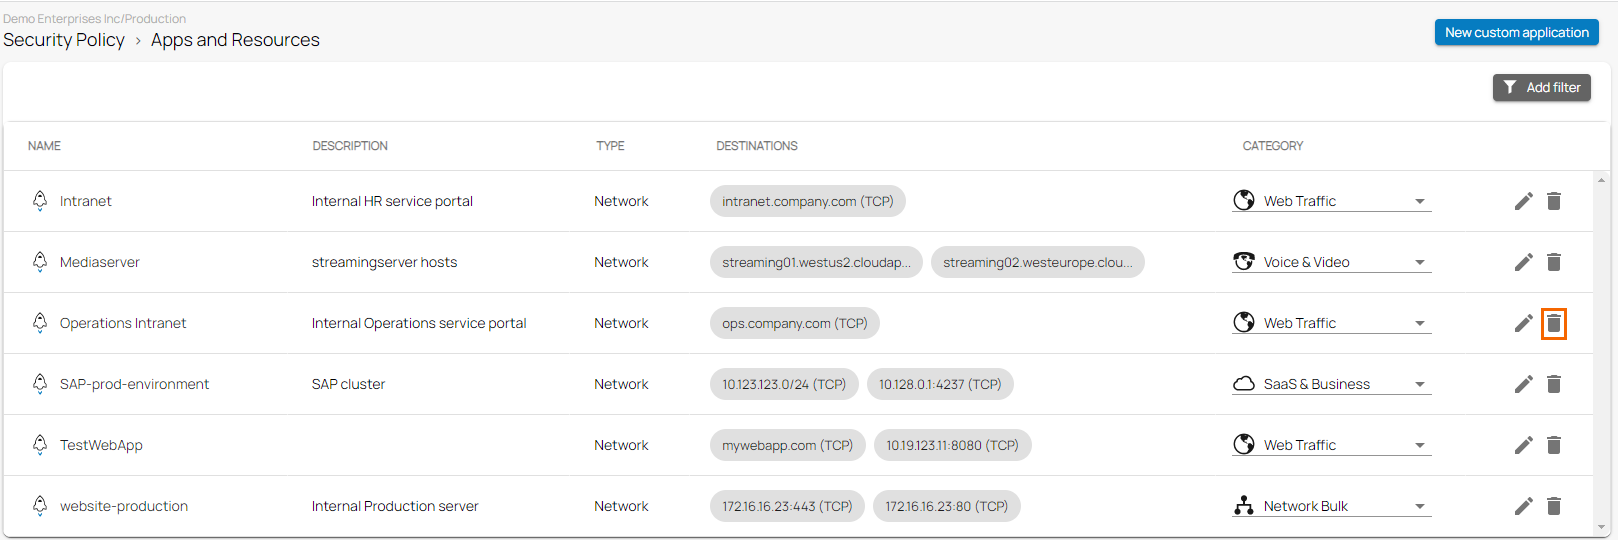
- The Delete < Name custom application> window opens.
Click Ok to confirm.