

Barracuda SecureEdge Access allows administrators to select either Microsoft Entra ID (formerly Azure Active Directory) or LDAP and sync with Zero Trust access. You can also configure custom client networks with respect to each point of entry. The Barracuda SecureEdge Agent running on the client connects to the SecureEdge unified cloud UI. In addition, you can enforce agent web filtering policies to the web traffic that the clients connect to via the SecureEdge Agent in order to establish a secure connection to access internal and external company resources.
Before You Begin
- If you want to use your Microsoft Entra ID users and groups for User Connectivity, Site Authentication, or Security Policies, you must first connect your Microsoft Entra ID with Barracuda Cloud Control in order to synchronize users and groups. For more information, see How to Connect Your Microsoft Entra ID with Barracuda Cloud Control . For more information on LDAP Active Directory, see LDAP Active Directory and Microsoft Entra ID.
Connect a Microsoft Entra ID/LDAP
- Go to https://se.barracudanetworks.com and log in with your existing Barracuda Cloud Control account.
- In the left menu, click the Tenants/Workspaces icon.
- From the drop-down menu, select the workspace your SecureEdge Access should be configured for.
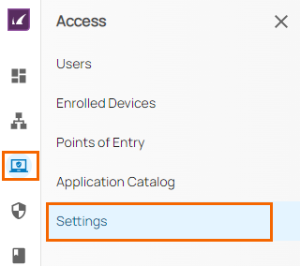
- In the left menu, click the Access icon, and select Settings.
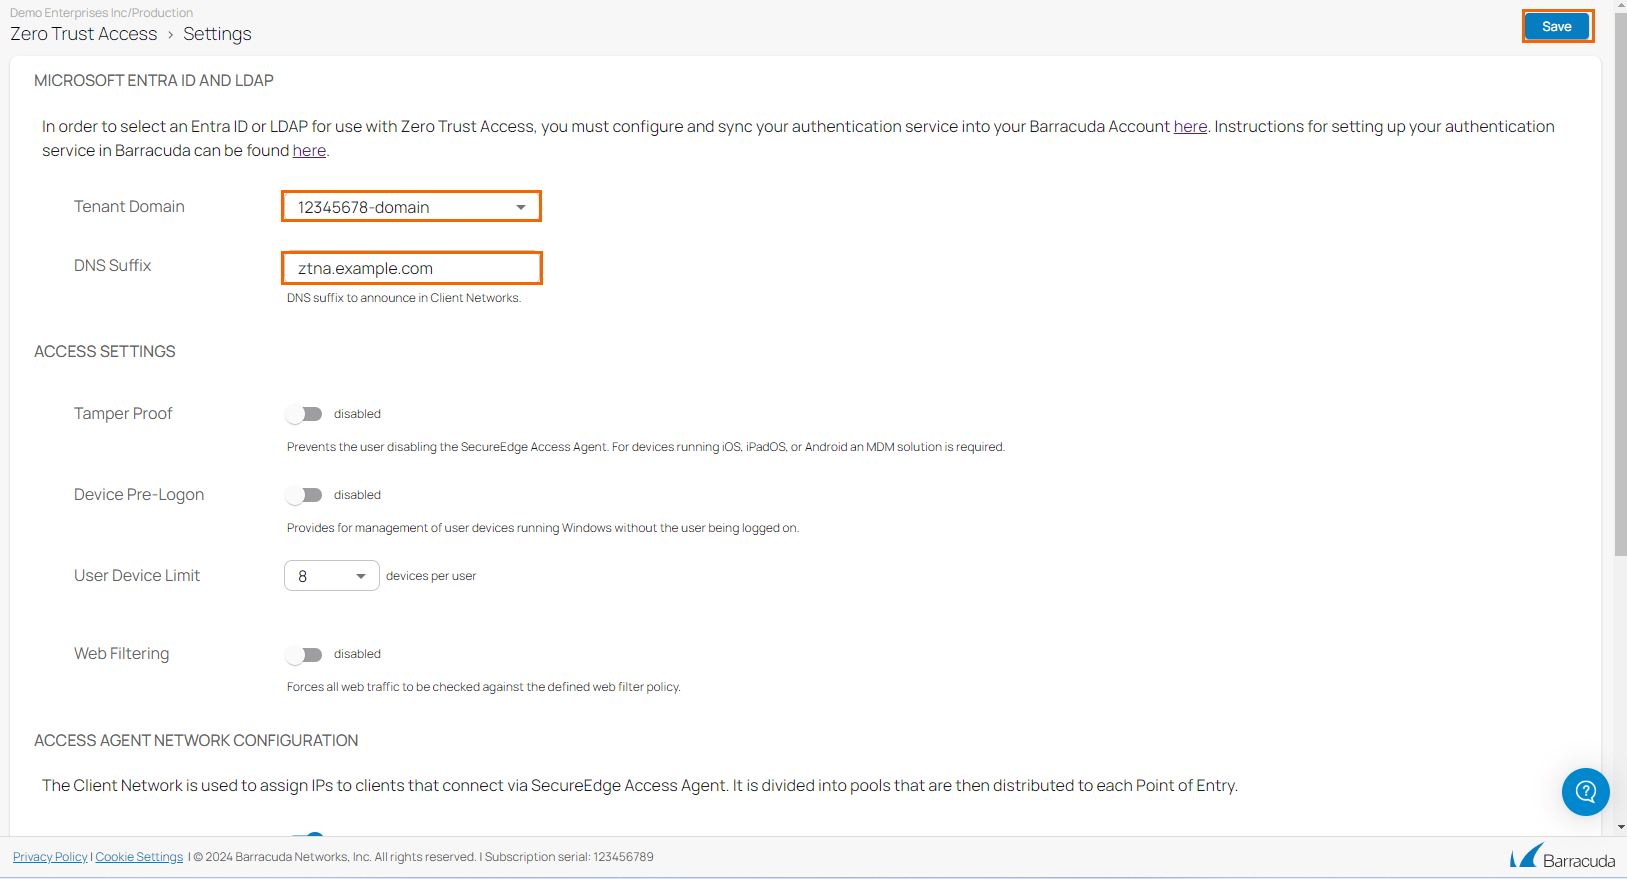
- The Settings page opens. Specify values for the following:
Tenant Domain – From the drop-down menu, select the tenant domain you want to sync with the Zero Trust Access service. You can select either Microsoft Entra ID or LDAP.
- DNS Suffix – Enter a DNS suffix to be used for your client network.
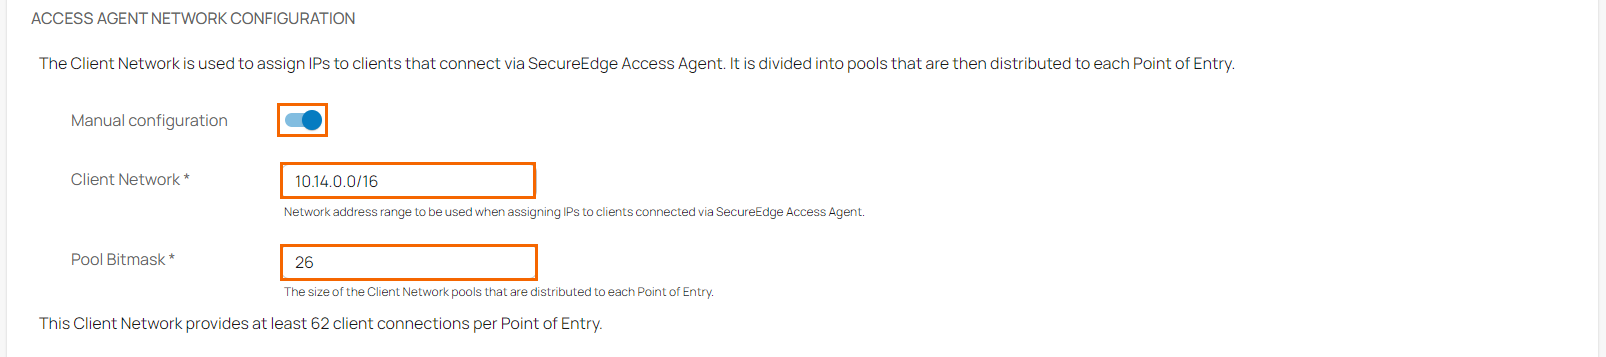
- In the ACCESS AGENT NETWORK CONFIGURATION section, specify a value for the following:
- Manual Configuration – Click to enable/disable. When enabled, specify values for the following:
Client Network – Enter the network used for the clients. Defining a custom client network is mandatory. With the client network default value 100.0.0.0/8, routing will not work and the SecureEdge Agent will not connect to any resources that are not directly connected to it. You can optionally configure the client network as a private IP.
Pool Bitmask– Enter the bitmask of the network pool to allocate each agent access point.
- Manual Configuration – Click to enable/disable. When enabled, specify values for the following:
- Click Save.
- In the CLOUDGEN FIREWALL CLIENT CERTIFICATE section, click Download certificate.

- Install this root certificate on all your clients to assure parallel operations with CloudGen Firewall client-to-site and SecureEdge Agent Access.