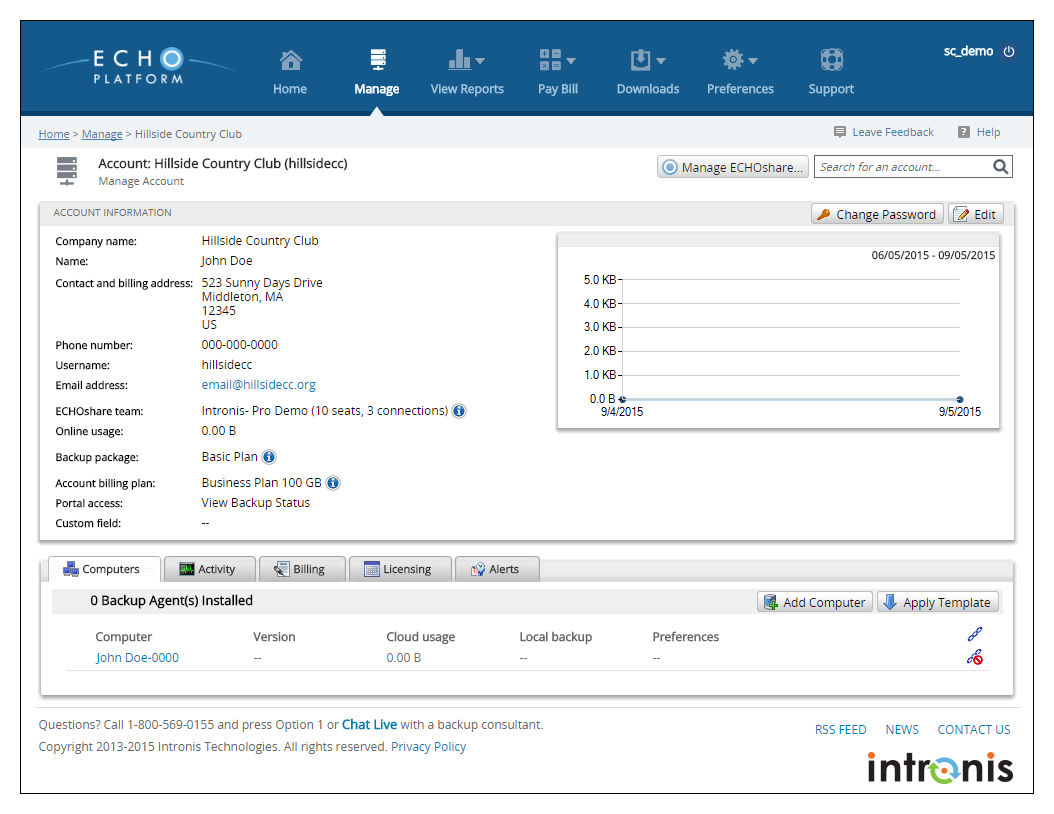
As a partner, you will add a client account for each company who wishes to have their computers backed up with Intronis. The client account serves to house all a client's computer accounts and combines those computer accounts' data usage and licenses for billing purposes. A client account acts as a single point at which to apply policies such as preferences or notification templates instead of to each computer account individually. This guide will show you how to create a client account in the management portal.
Directions
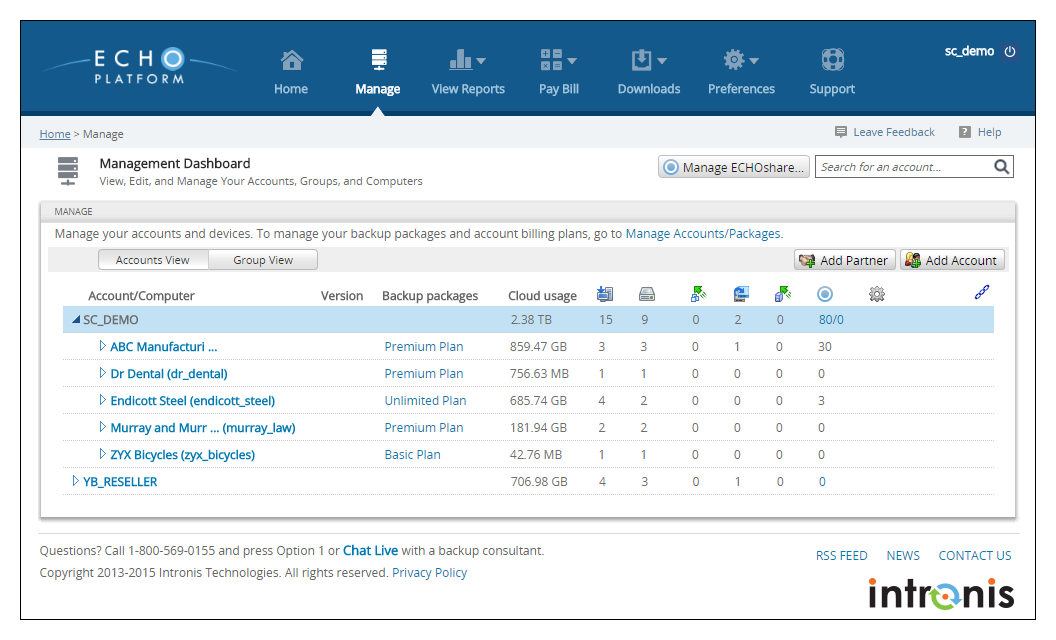
- Log in to the management portal and then navigate to the Manage tab. You should see your partner account with a list of the existing client accounts within it.
- Click on the Add Account button on the right to open the New Account page. Here is where you will fill in the client account information. The following is an explanation of some of those fields:
- Username/Password - This is what your client will use to log into the management portal. Once the username is set, it cannot be changed. This field needs to be unique and has a 16 character limit.
- Portal Access - This field determines what your clients will be able to do when they log in to the management portal. The two choices are View Backup Status and Create/Edit, Delete, and Restore.
- Backup Package - The backup package is comprised of the base package size and price, over-usage size and price, and numerous license prices. This is what you will pay to provide backup service to your clients.
- Account Billing Plan - Similar in composition to the backup package, the account billing plan is what you will use to bill your clients. More information about billing plans can be found here.
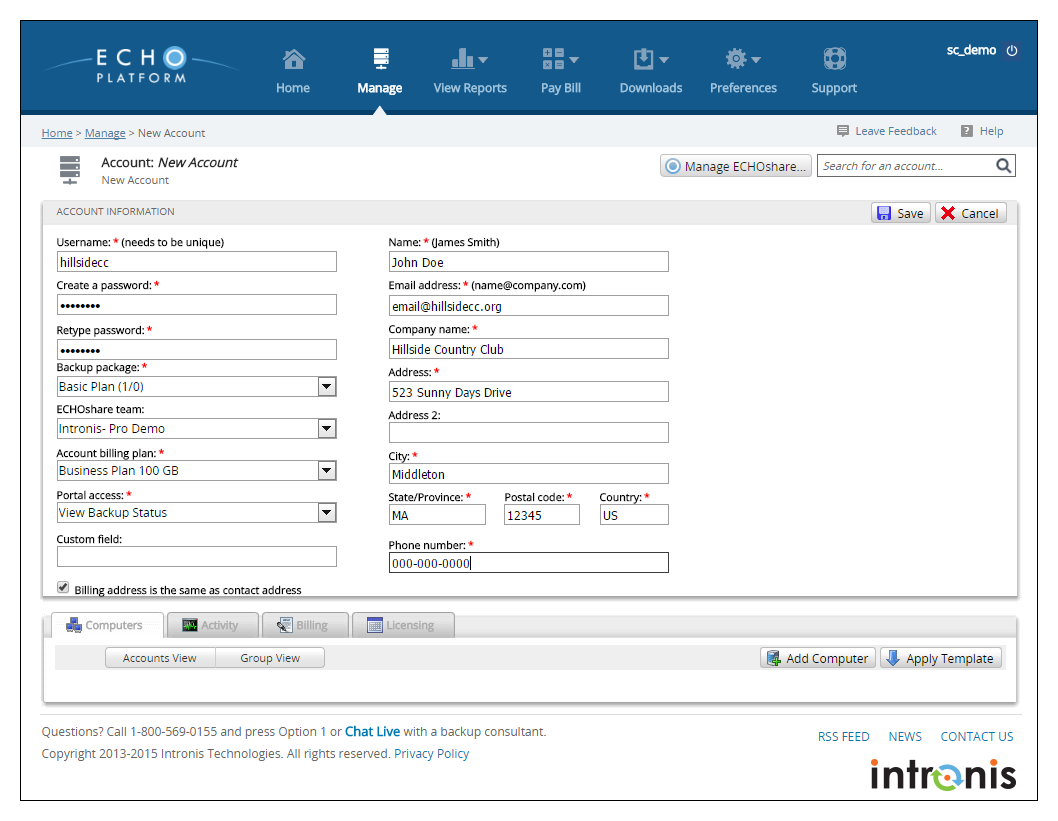
- When you are finished filling in the client account information, press Save. Notice how, upon creating the client account, an accompanying computer account (subaccount) is automatically created. If you need to add more computer accounts, please see this article.